


Likes
Comments
Share


@SpotWeed420Original
Follow
Y bueno Fumetillaas ya en la semana 10 cumpliendo con el propósito de este medio ... Ir informando que pasa x ende querías decirles que nunca medimos ec... La verdad no podía frenar el amarillento o esas carencias ... Controlaba ph y suficiente... Ahora empezaremos a medir ec y ph para poder tener mejor electro conductividady tener mejor absorción de nutrientes ya que medimos macetas después del riego y tenemos una ec de 4.5 a 3.5 la cual deberia estar en otros parámetros por ende ... Siempre tuvimos alimentos suficientes para ellas solo que no teniamos la implementación necesaria... Después de la 11 a 12 cortamos y subimos el final de esta planta que luchó con todo


Likes
41
Share


@Mastr
Follow
Hi everyone honestly I don't know why she preflowering for so long but she is massive
110cm plant 1
90cm plant 2
Day 46 I flush her and make light sycle 17/7
And she start flowering 😍

Likes
3
Share


@RunicKevin58675
Follow
63 days of flowering have passed, according to various colleagues they are 1/2 weeks behind on the swelling. But to me they look squat enough to pick up. Quite evident smell of sweet Hashy. Fed lightly with Bio Bloom but it was more of a rinse. 2.22l per day for 6 days, including 2 days put 1 drop of Bio Bloom in the irrigation

Likes
55
Share


@Roberts
Follow
I am dropping a fruity pebbles auto from ILGM. Seed was lightly scuffed on ends, and placed in a cup of water for 24 to 48 hours. As soon as I get a tap root tail I will place her directly in the rockwool. Thank you ILGM. 🤜🏻🤛🏻🌱🌱🌱
Thank you grow diaries community for the 👇likes👇, follows, comments, and subscriptions on my YouTube channel👇. ❄️🌱🍻
Happy Growing 🌱🌱🌱
https://youtube.com/channel/UCAhN7yRzWLpcaRHhMIQ7X4g
Likes
20
Share


@Boomdrawfyah
Follow
Dia 134 y semana 6 de floración,ultimo dia de vida de las plantas.
Este año ha sido un poco raro las plantas han crecido como monstruos tuvieron un crecimiento espectacular un tallo muy grande y junto con sus ramas flexibles y muy resistentes. Pero al llegar el engorde de floración no se porque les falto el empujon final para hinchar el cogollo, tiene muy buena pinta , mucha resina y muy fuerte buen olor pero me esperaba mas en la fase final. Cortamos ya que tambien habian orugas y no terminaba de eliminarlas por completo, la semana que viene era entera de lluvias así que decidi cortar un poco mas temprano para poder prevenir cualquier mal mayor, hay mucha gente que le gusta cortar antes de tiempo ya que el efecto es muy diferente, este año probaremos que tal.

Processing
Likes
17
Share


@Trueorganics84
Follow
Just starting , This is my soil mix!
Only took two days to break soil pretty sweet!!
Likes
21
Share


@Dunk_Junk
Follow
Wow she's looking beautiful this week!!!!!!!
Trichomes mostly milky/clear.
I'm thinking one more week, the last AutoGlueBerry I grew I started harvest on week 13.

Likes
8
Share

@Smev1337
Follow
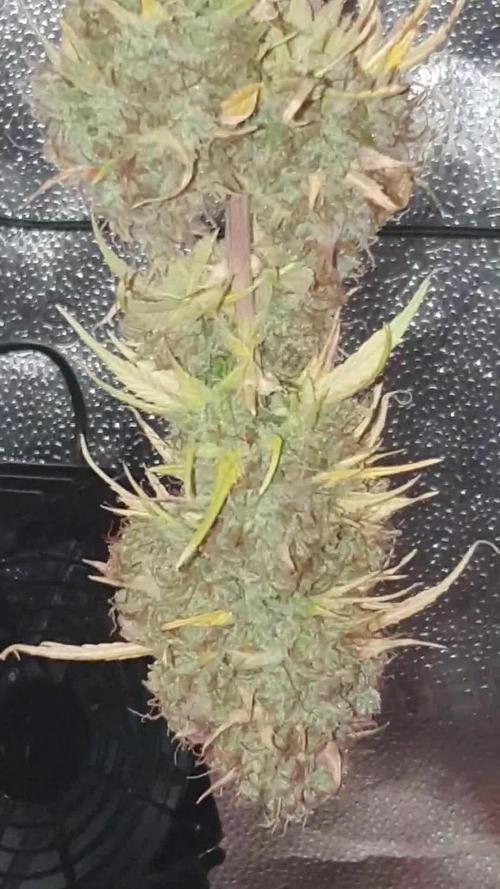
This is the end of this journey with my first grow and it turned out pretty good for an newbie grower like me, i let the plant cure properly also to get the maximum out of the terps 😋 i'm really happy with the grow and will continue to grow more and more 😈

Likes
52
Share


@Green_Claws
Follow
Welcome to the start of the Eternity Grow Cup.
So excited to have the opportunity to do this amazing contest..
So I'm growing sticky broccoli fem photoperiod from my Home Brew Living Soil
A bit of info on the strain
Sticky Broccoli exhibits characteristic indica traits.
Flavoursome buds: You’ll enjoy a smashing mix of floral, spicy, and sweet notes.
Superb yield potential: Plants are able to pump out generous yields when grown with care.
A treat for extract lovers: Buds are generously coated in resin, ideal for those who make extracts.
Our breeders love raising the bar when it comes to developing new strains, and their Sticky Broccoli is a perfect manifestation of this ethos. Marrying the productive Sticky Beast with the pungent Green Crack, we created a variety that's 90% indica dominant, loaded with flavour, and packing 23% THC. She also performs very well in the grow room. Growers love its rewarding yields and sensational bag appeal—buds are fragrant, vibrant, and shiny with resin. Tokers appreciate the seductive aromas, as well as intense effects that are felt almost instantly after taking a hit.
Growing Sticky Broccoli: Prepare Your Stash Jars
Demonstrating plenty of vigour from the get-go, Sticky Broccoli is very versatile and will thrive in an indoor or outdoor setup. Generous yields await, particularly if you have a few grows under your belt and know how to help plants reach their full potential. Sticky Broccoli grows to very manageable heights indoors, peaking at 120 cm. Outdoors, you can expect to see specimens achieve a more imposing stature of up to 220 cm. Give your plants love and care, and after 7–8 weeks of flowering indoors, you'll be looking at a harvest of up to 500 g/m². Under the sun, each Sticky Broccoli plant will yield up to a respectable 600 g in late September or early October.
Flavours and Effects That Make You Come Back for More
Dry and cure your precious flowers, and you're in for a mind-blowing experience. Sticky Broccoli is intensely fragrant and its flavours linger lazily on the tongue. Sweet, spicy, and floral notes come together harmoniously in this variety, making for an interesting and pleasant blend. For the most authentic flavour experience, vape the buds at a low temperature. When it comes to effects, Sticky Broccoli is quick to put its 23% THC content and suite of terpenes to work. A few hits give rise to a blissful, relaxing stone that lasts for hours. Though she's heavily indica dominant, Sticky Broccoli won't immediately put you to sleep after one toke.
Thanks for stopping by
Also thanks to the sponsors, Zamnesia/Plagron and of course Growdiaries for this fantastic platform to run it on...
🏺 THE SOIL CRAFT (Weekly Diary Tips)
Tip #1: The Mineral "Melt" (Chelation)...
Don't just top-dress Rock Dust dry. Mix 40g Rock Dust with 100ml LAB and 10g Jaggery in a jar for 24 hours before applying. The lactic acid "melts" the minerals, making the silica and trace elements bio-available to the roots instantly rather than waiting weeks for them to break down.
Peace and love ✌️💚.
See you next week

Likes
1
Share


@BruWeed
Follow
Esta semana ya realice la poda. Se encuentra en estos momentos en etapa de secado dentro de una caja especial para secados de flores que uso siempre y nunca me falla.
En humedo hay 195g y utilice una lampara led de 150w en todas sus etapas.
Próximamente estaré publicando cuando este en curado.

Likes
1
Share


@VividLeaf
Follow
Harvesting was a breeze. 350g dry weight but I didn’t weight it wet…
The smell is to die for! So lemony at first but the gassy comes through after. By far my best auto grow!
Likes
24
Share


@CovikLaFlaire
Follow
Something is fckng with me heavy,I'm using tap/RO water 50/50. and still my cal mag issues are getting worse..I'm hoping that I will be able to finish this grow without big loss in potency or yield .


Likes
4
Share

@Pot_Portraits
Follow
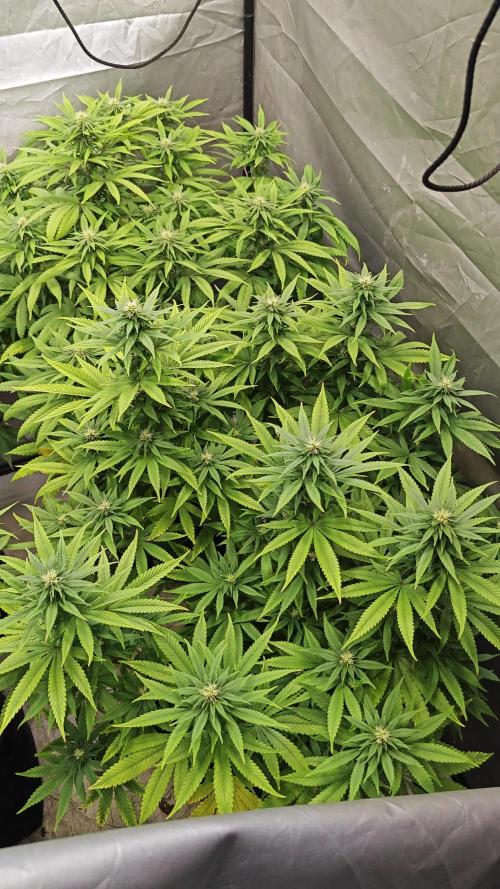
Wedding gelato is beautiful, makes nice big colas and smells amazing, excited to see this one finished !

Likes
8
Share


@Canna96
Follow
Hey now, I hope everyone is having a great weekend. This was a good week for the Purple Punch, she really started to stretch and grew 14 inches in the last 7 days. I did start transitioning her from veg to flower nutrients yesterday. She is now feeding on Silica, Cal Mag, and 50/50 veg and flower nutrients.
She has 3 shoots coming off some nodes and only one coming off other nodes. This is the first genetically mutated cannabis plant that I have grown so we will see what happens.
The Medic grow light is now running at 100% in F1 Flower mode and I am also integrating the UV/IR bar for approximately 90 minutes per day just before lights off. I will continue to transition her to flower nutrients over the week and by next week at this time all three ladies will be feeding from the same reservoir with Silica, Cal Mag, Maxi Bloom, and Liquid Kool Bloom which is a PK booster. I keep the PH in the reservoir between 5.5 and 6.5 and prefer fluctuations between this range as some nutrients uptake better at different PH's within this range.
I will probably do one last light defoliation in the next couple of days and that will be about it other than keeping the reservoir full and in the correct PH range. The tomatoes outside are absolutely loving the runoff from these autos, as that is all they have had to drink since they were about 3 weeks old.
Thanks for stopping by, Stay Safe and Blaze On!!! 💪
Website: https://medicgrow.com/
https://growdiaries.com/grower/medicgrowled

Likes
17
Share


@Elpicor
Follow
The harvest is coming soon also for Strawberry Gorilla and Orange Sherbet, news this week the strawberry pie has grown, who knows if it will make buds full of resin or seeds, maybe both? We will see! the story continues...
Likes
469
Share


@love_2_grow
Follow
D22 - Today was the start of the fourth week of veg, and it was time to transplant the girls into their final pots. I got the largest pots that I could find that still would fit in my small tent: 25-liter square pots. I prepared each pot with mycorrhiza before transplanting. I picked #2 and #3 to transplant since they are the most similar in structure, even though #1 and #2 are more similar in size.
I adjusted the light to 300 PPFD at the canopy level. Finally, I gave each girl one liter of water @ pH 6.6.
D24 -The girls love their new homes and have grown quite a bit in a couple of days.
I've added a bunch of sensors to the pots to monitor the soil moisture better, one Flower Care sensor and one Blumat Digital in each pot.
The Flower Care sensors aren't all that reliable in larger pots, so I temporarily added the Blumat sensors from my other tent to get a feel for how the FC sensors work in these pots and dial in the Blumat watering system.
However, I haven't turned on the system yet, as the soil moisture remains relatively high after the transplant.
D25 - It looks like the transplant was a success and that I avoided stunting either girl. They are looking more vigorous with each day. Yay!
I'll give them one more day to chill and settle in before starting LST tomorrow.
D26 - Started LST today.
D27 - Tightened the LST wires and increased the light dimmer to around 400 PPFD at canopy level.
D28 - The end of the fourth week of veg and all is well in the tent. I did a soil slurry test to check the pH since this is the first time using this soil blend. The test showed a pH of 7.0 so all good.


Likes
15
Share


@OGgrows
Follow
Great strain! Very simple at all levels and with great results. I harvested 2 plants with 79 days and 2 plants with 83 days. I trim with little work due to the small amount of leaves. uniform, fat and crystallized buds. 505gr of wet buds. they are drying, as soon as they are dry I will update again.After 12 days of drying, 166gr of dried buds. Happy Growings to all 💚🌱💪🙏

Likes
4
Share


@UrbanBoer
Follow
Hands down she has raced to be the first plant that will be harvested, which I do not mind because this cheese scent she has is driving me crazy, my senses are drooling 🤤 and crying, patience is a skill reserved for the brave. Love how the LST has given me about 3 main stems, the crystallisation on this plant is incredible, it looks like I am growing it in an indoor environment. All she’s doing is fattening her buds, I hope she gives about 50grams of dry bud. I need to start formulating a questionnaire, I am going to dedicate 10grams to researching how well I grow bud, that is six strains, 10grams each, that is about 60 joints weighing a gram each. At the end I want to open my own community weed forum.