




Likes
9
Share


@Naujas
Follow
Day 76!!!! 320 gr. it's amazing :) the girl would definitely be bigger if I could provide the right conditions :) unfortunately, it's too hot for me at the moment :( but she did it :) what's most important :) I'm happy :) next time we'll improve :) there will be an update after drying :) in 89 days I used 257 kw of electricity :) I got about 450-500 gr :D from two girls' car, I think it's not a bad result either :) :)

Likes
24
Share


@Leeyum
Follow
My apologies on never giving a smoke report. I ran into a situation where I had 2 weeks to move across country. I don't like to include untrue data to my expectation/ perceptions.

Likes
45
Share


@BodyByVio
Follow
Beautiful flower full of trichomes. Smell and test fantastic. Very fast flowering. She was done on day 49 but I cut her down few days later.
I love the strain, the only thing that I will like this strain to have is a better yield. Beast quality buds I ever grew.


Processing
Likes
7
Share


@live_canna
Follow
Day 132 - 22.09.2020 - Pic updates. Now that my other plant got the boot, this lady has more space. I put up the trellis net to move the branches slightly and get better light penetration.
Day 134 - 24.09.2020 - Pic updates. Her lower leaves are starting to yellow which is concerning. I am keeping an eye on her.
Day 138 - 28.09.2020 - Pic updates. So definitely concerned. I went out and got the items I needed to start brewing a compost tea as she was yellowing more and looking a bit sad. Even though all my nutes have been given and the PH is right, I do not know why she is having these issues, but I am hoping a nice compost tea will get her back. Other than that she needs to put on more weight. But of the little buds that are there, they are dense as can be. So I am happy with what I see quality wise so far. I will be checking her in more detail later to see what the trichomes are doing, but when I checked quickly we were still very clear.
Likes
6
Share


@Magical_Surgeon
Follow
After you found some good sector and clone it you let the mycelium grow and fill almost all the petri dish like I did last week.
So now you're ready to move forward.
Making grain spawn!🍄🍄
For grain you can use Organic Rye Berries, but you can also get away with wheat berries, or brown rice or even corn kernels(which I used myself) !
And you'll need some mason jars or honestly I used some jars that I had home just clean them very well and sterilise before using
Making a grain spawn can be broken down into 6 easy steps.
🍄Hydrate Grain By Soaking
🍄Make Specialized Lids
🍄Simmer, Drain and Dry The Grain
🍄Sterilize
🍄Put your agar in the jar
🍄Colonize
🍄Soak the grain by placing it in a bucket, covering in water, and leaving it for 12 -24 hours. Easy.
🍄Drill 1 hole on top of the lid. Right in the center and cover with a small dab of high temperature silicone sealant, and leave it overnight to dry. And your jars are done. There other diff types for different methods like liquid culture etc. But I'm just going roughly through what Ive done.
🍄The next step is to simmer the grains on the stove. This will thoroughly hydrate the grains, and will soften them to make them easier for the mushroom mycelium to consume.
Cook soaked grain on the stove for about 15 minutes. You don’t want to cook it too long, because eventually all the grain will crack and you’ll get some mushy grain spawn. We don't want that. 🧐After the grains have simmered on a low boil, you’ll need to drain them off. What I did is I drop them in the sink with the drain cover on. The grains will drain over an hour or so, after which you can go ahead and fill your jars.
🍄Once your jars are filled, they need to be sterilised.This kills off all the other nasty contaminants in the grain cover the lids in tinfoil (to prevent water dripping into the lid) and then just pressure sterilise them for about 90 minutes at 15 psi.
🍄After that let them cool down. Get your SAB, wipe down the walls with some alcohol wipes and place the jars inside. And wait untill they will be warm to the touch... not hot and painful 😤patience is key. Bring in your plates that had been stored by you in a dark place. And what u have to do is sterilise your scalpel and just accurately and efficiently decide your mycelium into about 10 pieces and quickly place them in your jar. And complete for every jar u make. You have to be very quick. The more you keep you're jar and your agar plates lids open the more cans they will get contaminated. There certain technics you can see online..
🍄Ones you're done close all your jars lids tight and Jake your jar so the mycelium pieces will mix around the jar and place them in the dark place to colonize. And just keep waiting... 😅 Untill the mycelium will conquer your grain. Keep your eyes on the jars, any weird smells or colour during the waiting time.. because that would mean you got a contamination going on. Oh yeah and when about 55% of your jar is filled with mycilium shake the sh*t out of it so it will break the mycilium inside and make spread more faster.
Likes
4
Share

@NyBushDr
Follow
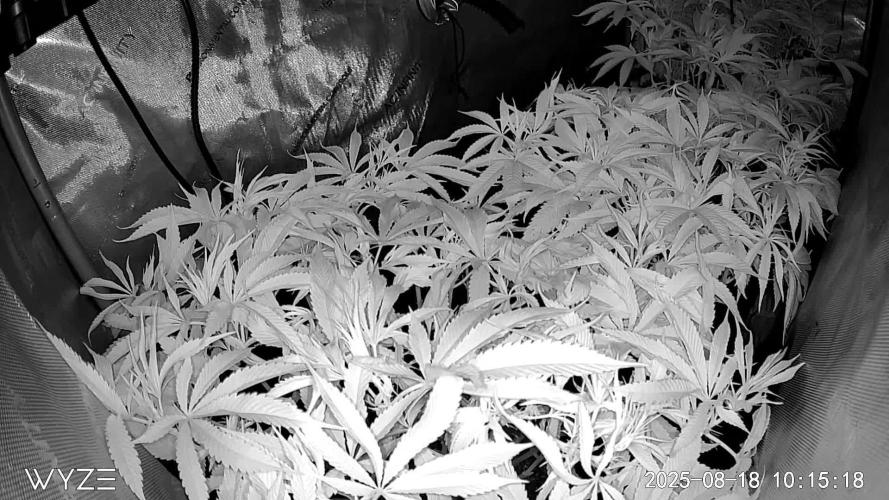
Good morning, today is officially say one of flower, I flipped last Saturday so these girls took their time transitioning. Took a full 8 days as just this morning I noticed just a few pistils, I don’t count the transition as flowering days. As usual I continued my every other watering of fish shit rotated with silica and they are still getting a full gallon each girl per watering. I’m trying something new since the organic nutes take time to work in, rather than top dressing every 4 weeks as Gaia suggests I’m doing half doses hi weekly so last week they got 3 tbsp of all purpose and 2 of power bloom. In two weeks they will probably get the same then the one after that all power bloom . They stretched a lot the first week as you can see in the time lapse so I’ll clean them up again in a week or two after the stretch is over eliminating and branches that don’t keep up to the top canopy and I’ll probably keep the top 5 nodes of each top depending on structure after the stretch. Thanks for reading and see ya next week
Likes
5
Share


@MG2009
Follow
02/28/2021
What a difference in a week! Potted up GSC
To 1 gallon pot, Blue Dream next, pics coming soon.
(Later tonight)
Blue Dream potted up and watering done.
Both have nice side shoots for clones. GSC is at 10" tall, Bluedreamatic Dream is at7.5"
Also took 5 cuttings of Wreak Havoc hope to have 2 of each clone
(GSC,BLUE DREAM,WREAK HAVOC) for outside, I believe I got the lemony kush pheno which is perfect for my climate!
Likes
74
Share


@Mr_Maes
Follow
Nothing but colas on all 3 this is going to be a big harvest. Another 2 or 3 weeks max.


Likes
4
Share


@Northern_Ent
Follow
June 8: planted out first seedling into 7 gallon bag. Using peat pots as intermediate container because it is too cold here to start seeds outdoors and I don’t have room for final containers inside. After about one week roots are coming out the bottom.
It was pretty cool in May with some frost nights so I’m glad I waited until June to start these.
Likes
34
Share


@AsNoriu
Follow
Day 21. I post one day earlier, but its a huge week for them.
Cleared space, install chicken wire fence.
Added worm castings, epsom salt, mono potassium, calcium nitrate , Great White, Biosys and hope they will be ok.
Next visit in two weeks.
Root system was good, couple girls had mini root bound on the bottom, so timing was perfect !
Happy Growing !!!


Processing
Likes
13
Share


@Crazy_zx10r
Follow
About a day into week 3 . Growing very strong and fast. Transplanted into the 5gal bags at night . Over week 3 they exploded. They wanted the room .. the 5gal bags made that happen. Amazing results with just foxfarm ocean forest soil.

Likes
55
Share


@Theia
Follow
Last week for her. She has pushed another e cm of buds on her tops since I added the xs2000. Look forward to doing a full grow cycle with this led panel as soon as we finish these up.
No problems with this one. She smells great looks great. She will get a flush this week with clean fruits and then chop chop next Saturday.
Thanks for looking.
Grow well 🌿🌱🌼
Stay safe 😷😷
Likes
Comments
Share


Likes
20
Share


@adam_pawloski87
Follow
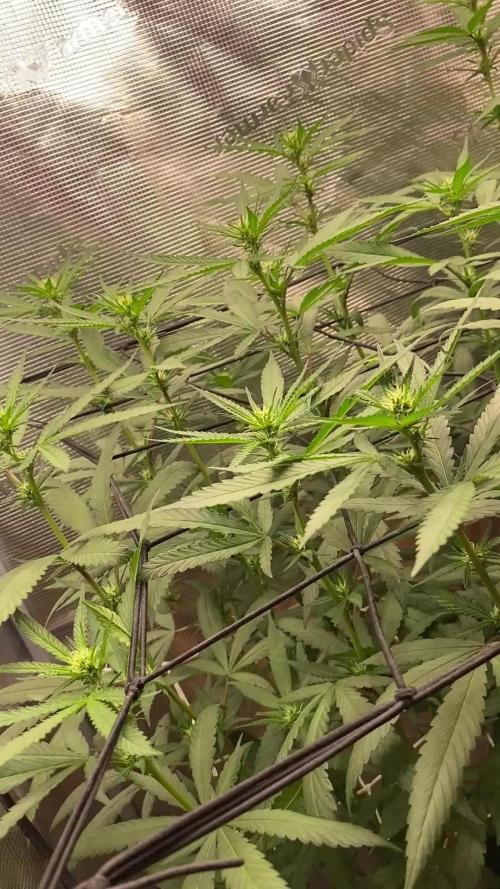
We are in Flush !! Was giving them GH Flora series + rapid start + cal mag