


Likes
Comments
Share


@DeepRootsGrowTrees
Follow
SPEEDY BOOM 💥 AUTO/ KANNABIA
Week #9 Ovetall
Week #4 Flower
This week she's doing good no issues to report she's really a easy plant to grow if your interested in her I would say outstanding genetics as far as not having to do anything other than water and she's a resilient plant the elements don't effect her. Stay Growing!!
Kannabia.com SPEEDY BOOM AUTO



Likes
2
Share


@Aleks555
Follow
Humboldt - Golden Sands
And so we begin the grow! We germinated the seed in a damp sponge, and it sprouted within a day. We've planted it in a 100-gram plastic cup, and now we wait for it to start growing. A huge thanks to Humboldt Seed Company Europe for providing us with such amazing genetics. We're excited to see how this beauty develops and are grateful for the opportunity to grow such a top-quality strain!
Likes
5
Share


@noshoesguy
Follow
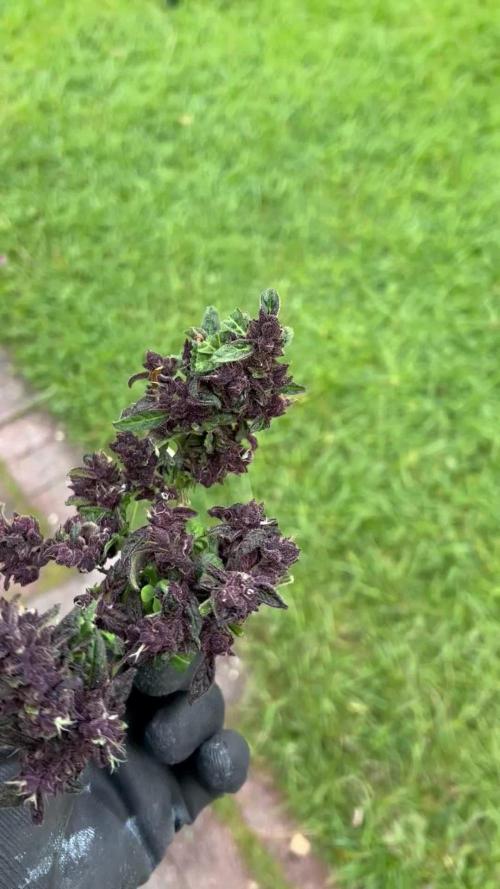
The pictures don't do these buds justice. They are a brilliant purple and orange color. I have definitely outdone myself for my first grow ever. These buds have that perfect subtle smell and taste of blue salt water taffy. It's brilliant. I couldn't get it to reveg which is a disappointment but it will live on in my memory


Likes
69
Share


@nonick123
Follow
Día 108 (16/09) Tras el flush las plantas muestran tímidamente nuevos pistilos blancos! 😍
Hoy no es necesario regar!
Día 109 (17/09) Me he encontrado a OnionOG #1 y a Purple Punsh completamente sedientas! Con las hojas caídas!
Riego con 1,25 litros de H2O a cada una de ellas (el resto no necesitan riego)
Día 110 (18/09) Riego con 500 ml H2O
Las plantas con el bloqueo empiezan a mostrar nuevos pistilos, sobre todo en las partes inferiores
Día 111 (19/09) Riego con 250 / 500 ml H2O
Se vuelven a formar pistilos blancos en todas las plantas que han sufrido el bloqueo! 😍💥
OnionOG #1 va como un cohete formando y apilando flores 💪 🚀 😍
Día 112 (20/09) Día lluvioso. Riego ligero 250 ml H2O
Día 113 (21/09) Otro día lluvioso. Riego ligero con 250 ml
Día 114 (22/09) Detecto algunas moscas blancas apoderándose de las plantas y decido hacer una aplicación foliar de piretrinas (Spruzit a 15 ml / l)
Riego con 1 Litro de Té Floración de Lurpe Solutions. Preparación: 24 horas con bomba de aire (oxigenación) con ingredientes:
Healthy Harvest 8 ml/L + Insect Frass 16 ml/L + Kelp Hidrolizado 0,3 g/L
💦Nutrients by Lurpe Solutions - www.lurpenaturalsolutions.com
🌱Substrate PRO-MIX HP BACILLUS + MYCORRHIZAE - www.pthorticulture.com/en/products/pro-mix-hp-biostimulant-plus-mycorrhizae

Likes
7
Share


@ROY4L_GU4RD
Follow
Week 7 is ending today. I decreased my Macro nutrient by half. This week will probably be my last week using it. I took the Armor Si out of the regimen completely. I started using terpenz at 5ml per gallon. No issues still. Keeping my fingers crossed for everything to continue on cruise control. The rainbow cake and London mint cake is super frosty. They all have a pretty strong smell. I have clones and will continue to run the strain I like the best.


Likes
3
Share


@MicroHidroGrow
Follow
Día 45.
Ya empezaron a enraizar los esquejes. Agregué 2 al sistema y mañana ya agrego los otros 2. Después habrá que espersr una o dos semanas a que alcancen una altura que iguale a la madre y de ahí a flora.
La planta se me hizo demasiado grande esperando a los esquejes. De hecho para la próxima, voy a tener que revisar el tema de la configuración a usar. Porque esto es dasiado grande y se pierde el espíritu real de lo que es el indoor. La idea original eran 10 esquejes. La madre solía ir a tierra a florar en otro lado. Pero pensé en aprovecharla y a fin de cuentas termina siendo casi lo mismo que poner la planta sin esquejes. Así que voy a ver bien que configuración usar en la próxima y estimar mejor los tiempos. Entre tanto, solamente espero poder estar pasando a floración lo antes posible. Sino esto se va a complicar mucho con el espacio disponible.
Processing
Likes
12
Share


@2Stones1Bird
Follow
Checkout my Instagram @smallbudz to see the Small budget grow setup for indoor use, low watt, low heat, low noise, step by step.
17/11/2019 - Pot feels light and the is bottom dry to the touch time to water, gave her 1,5l of water PH 6.2 with 0.5ml Grow, 1ml, Bloom and 0.5ml Max Biobizz reduced the dosage from last time, watered util some runoff appeared.
18/11/2019 - Mixed another batch of Alg-a-Mic 2ml per liter to spray on lights off PH 6.2

Likes
10
Share

@Smev1337
Follow
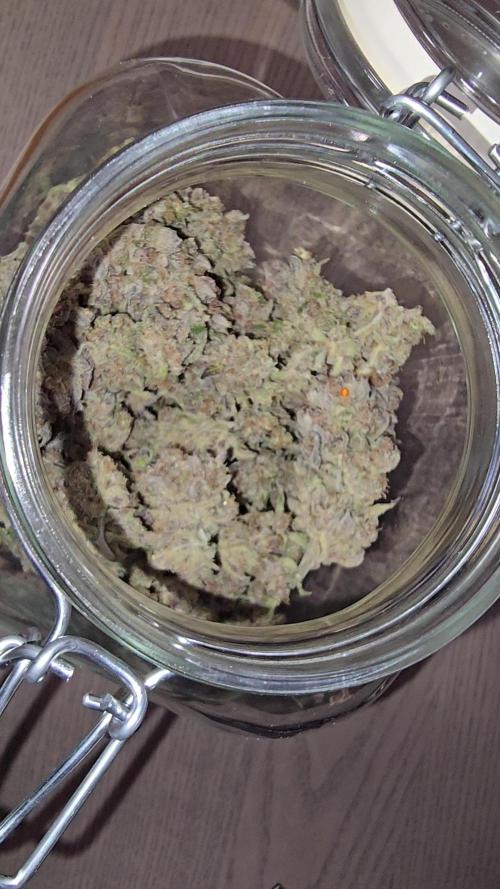
this is the end for this RF3 run with the Strawberry Gorilla strain! been really fun growing it but i need bigger stuff for next time 😎 i'm calling an monster grow 2.0 later this year! 😏👌 happy growing all! 😎✌️💚
Likes
3
Share

@Seabass
Follow
25.7.
Nächstes Jahr neuer Versuch.
Ohne umtopfen (Start in Torftöpfchen)
Ohne Schnippeln
Keine softpods sondern eckige plastiktöpfe
Automatische Bewässerung
Nicht Südseite (zu viel Sonne) sondern auf der Westseite (Nachmittagsonne).
Sämlinge schonen ggf. etwas später starten in der Veg dann aber draußen frei stehen lassen (ohne Zelt)


Likes
9
Share

@All_our_small_plants
Follow
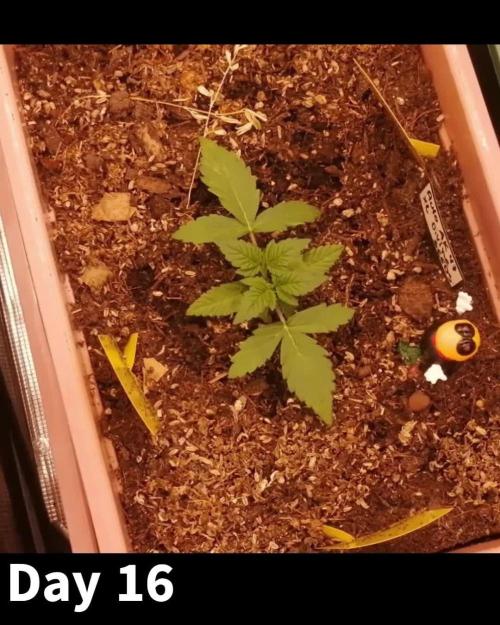
Bewässerung: 1000ml
pH-Wert: 5,8
EC-Wert: 0,6
Temperatur: 30ºC
Luftfeuchtigkeit 55%
Schädlingsbekämpfung:
PPFD: 200 µmol/m²/s
DLI:
Düngemittel: mineralischer Dünger NPK 7-3-5
Besonderheiten: Wurden direkt in die erde gepflanzt in einer Kokos-Quelltabletten.
-Tag 15 Sie hat heute eine kleine Menge Dünger und Nematoden zur Schädlingsbekämpfung bekommen 😉
-Tag 17 Sie hat heute etwas Wasser mit Effektive Mikroorganismen bekommen und wir haben mit den LST angefangen 💪
-Tag 19 sie wurde heute gegossen und hat Dünger bekommen, es wurden auch ein paar Blätter entfernt und so wie es aussieht hat sie das Toppen gute überstanden
-Tag 21 Sie hat heute etwas Dünger bekommen und war beim Friseur 😋

Processing
Likes
62
Share


@Herbz_Unkraut
Follow
Lowered the lights & will set 24h light on monday
Most of the roots show on the bottom of the pots


Likes
8
Share


@MrBuenchico
Follow
La EC se mantiene estable, pero el PH no, baja demasiado por lo que he decidido esta semana corregirlo con ph+. Se mantuvo toda la semana en 6.2
se rellena tanque con 20 litros cada 2 días. un volumen muy bueno. A casi 1,2 litros al día por planta
Se ha disparado el tamaño por el centro, algo lógico teniendo en cuenta que por esa zona recibe la luz de los dos lados del foco continuamente.
Se ha girado el foco para mayor comodidad ya que tocaba el cable en una barra y se quedaba enganchado. un tema peligroso.
Estoy gratamente sorprendido con este foco, su rendimiento es espectacular. no se que ocurrirá cuando ponga el otro 😲 Las plantas tienen unos tallos fuertes y preparados para soportar grandes pesos. Esto marcha bien!!!!😎
Fotos del ultimo día de la semana 3 02/09/23

Likes
1
Share


@Gorillabraziu
Follow
Next week i will stop feeding her with grow nutrients, but decreasing (reduce) doses.
I am brazilian guy, so i dont write very well and not understand somethings 😅
Likes
23
Share


@420DeepGrow
Follow
Toda esta fantasía se hace realidad gracias a Royal Queen Seeds y @James por confiar en mí. 🚀💥
Fiel a su linaje genético, la Hyperion F1 ofrece un aroma intenso que está dominado por notas frescas de pino y hierba, junto con un trasfondo terroso y un delicioso toque especiado. Aunque todos nuestros híbridos F1 producen excelentes concentraciones de cannabinoides y terpenos, no hay duda de que la Hyperion destaca entre el resto. Sus cogollos alargados y escarchados producen una resina rica y cargada de cannabinoides (sobre todo THC), y terpenos como mirceno, ocimeno, farneseno, terpinoleno, cariofileno y humuleno. Esto no solo da lugar a un aroma muy fuerte, sino también a un efecto bien equilibrado que combina una relajación física (en gran parte gracias al mirceno y al farneseno) con la euforia, risa y efecto motivador de otros terpenos. Al igual que el dios de la luz del mismo nombre, la Hyperion F1 causa un subidón esclarecedor que se puede disfrutar a cualquier hora del día.
🌻🚀 Consigue aqui tus semillas:
https://www.royalqueenseeds.es/semillas-de-marihuana-hibridas-f1/622-hyperion-f1.html
🍣🍦🌴 Xpert Nutrients es una empresa especializada en la producción y comercialización de fertilizantes líquidos y tierras, que garantizan excelentes cosechas y un crecimiento activo para sus plantas durante todas las fases de cultivo.
Consigue aqui tus Nutrientes:
https://xpertnutrients.com/es/shop/
📆 Semana 7:
Por fin se ha acabado este temporal maldito y he visto las preflores, ahora espero que crezca algo mas y se hagan unos buenos cogollos resinosos.
Todo va bien hasta ahora 😊
Likes
101
Share


@Ferenc
Follow
Day 65, 17th of November 2020:
Welcome back at the beggining of the 3rd week of flowering. They seem to be stopped streching and now concentrating on buds.
All of them are gorgeous.....
The 2 Zamnesia genetics Gelato and Kalini Asia are pretty and buds are forming nicely. Kalini Asia might strech a bit more but not long.
The Sweet Seed ones are really nice and I am so happy because Red Hot Cookies is already getting red.... pistils and around the leaves.. I hope the same happens to the Red Mandarine and Tropicanna Poison also. They are so gorgeous. They calmed down I don't expect more strech.
Fertilization still the same every 2nd day with the ratio and mix above.
Some lollipopping (Defoliation) is also done.
I removed all the LST the plant remains in the same shape from now.
The lamp is on 11.30 min and off 12.30 min.
Last week was 15 min longer light cycle....
So every week 15 min shorter light cycle until the 5th week. So far -30 min. It switches on at 6 am and off at 17.30 pm.


Likes
13
Share


@NSABND
Follow
Day57 hot summer day 😎👍🙏
Day58 cloudy and normal temp 😳😵
Day59 cloudy and cold temp 😵😵😕
Day60 the sun came back but late 😩😵
Day61 sun and warm weather 😁🙏👍
Day62 some sun and warm weather 😁 "Hilde2.0" gettin closer to finish 😏👍🙏
Day63 not too hot and sun close to finish 😎🙏👍
Likes
85
Share

@420DeepGrow
Follow
Octava semana de floracion, se ha formado una linda pequeña cola, uniforme y compacta que continua cargándose de blanca resina 🤩. Esta semana aplico nutrientes porque todavía no esta formada del todo.
📅 Dia 50: Descanso, come mucho mas lento, se aproxima el lavado de raices
📅 Dia 51: Riego con nutrientes EC 1300 EC escurrida 1850
📅 Dia 52: Riego con nutrientes EC 1200 EC escurrida 1750, en una semana comenzare el lavado de raices, porque esto esta engordando todavia
📅 Dia 53: Riego con nutrientes EC 1200, EC escurrida 1700
📅 Dia 54: Riego con nutrientes EC 1200, no dejo escurrir agua.
📅 Dia 55: Descanso
📅 Dia 56: Riego con nutrientes EC 1200, EC escurrida 1750, creo que en 2 semanas estará totalmente lista.

Likes
58
Share


@GreenHouseLab
Follow
Video quality is so so for closeups with GoPro. Both phenos are super fire 2 more watering and will be flushing for about two weeks should take me near harvest at week 9-10.
Mars Hydro FC4800 dimmed at 300w, will help lower temps and bring out those colours.
Likes
11
Share

@eldruida_lamota
Follow
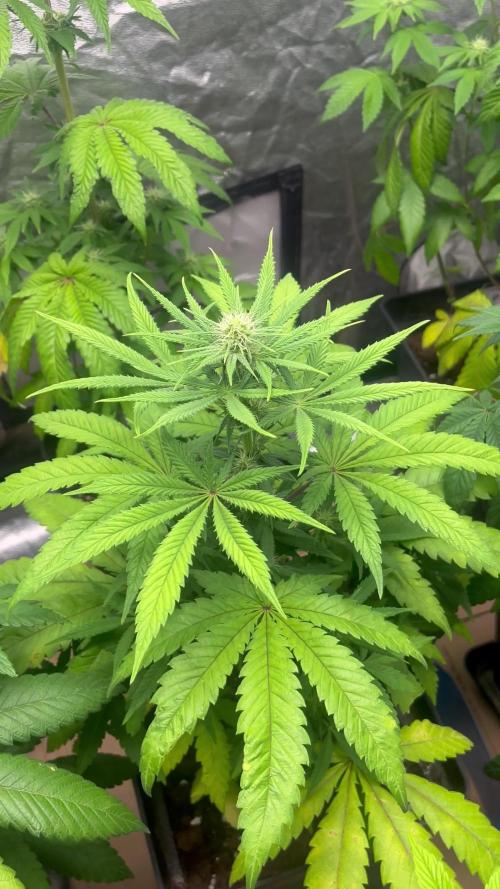
Que pasa familia, vamos con la tercera semana de floración de estas Gomu Gomu Mango feminizadas de HighBreed.
Vamos al lío ,se colocaron en macetas de 7 litros definitivamente.
El ph se controla en 6.0 , la temperatura la tenemos entre 24/20 grados y la humedad ronda el 50%.
El ciclo de Floración puse 12 horas de luz, el foco está al 80% de potencia.
De momento va creciendo, tiene buen color y va progresando.
Comentar que superaron el estrés hídrico porque subí par de grados por la noche y va volvió a comer normal .
Gracias a Agrobeta por el kit para la temporada, unos jefes, siempre apoyando 💪.
- os dejo por aquí un CÓDIGO: Eldruida
Descuento para la tienda de MARS HYDRO.
https://www.mars-hydro.com
Hasta aquí todo, Buenos humos 💨💨💨