




Likes
19
Share


@Mattyice
Follow
Hasn't grown much taller but bud sites have been forming all over the place for a week now. It's now to the point where you can see all the various spots on camera. I'm so stoked I think I'm gonna get a decent yield on my first grow. 60+ grams but I don't want to get too bold. What a journey it's been so far I can wait to see how fat my flowers get any tips as to getting fat flowers?
Likes
2
Share

@MuckmanMelts
Follow
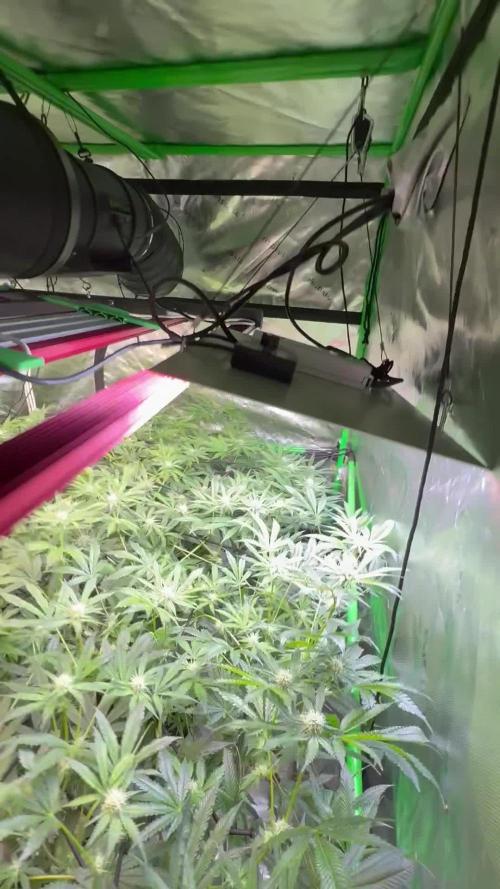
Insane! Added hlg r spec 200w boost the footprint. Let me show you my field of a scrog

Likes
10
Share


@4F1M6
Follow
Stretch is done and flowers are piling on now! I treated with lost coast as a preventative. I kept the feed the same but it will be altered end of grow week. Canopy is getting hella full can't wait to watch these colas stack on. Until next update. Happy growing and stay lit fam.

Likes
24
Share


@3lementa1
Follow
March 08 I left the air purifier on by accident again last night so there was a blue light overnight. The buds look good though. I taped the window up so I'm no longer having a humidity issue at night. I alternate between having the light on at 100% and 75% and recently 50% as well.
March 10 I just fed them Ph'd water with molasses. Runoff pH 6.2-6.5, ppm 200-600. I'm having trouble getting good shots of the trichromes but I'm starting to see more amber ones. Less than 5%.

Processing
Likes
12
Share


@2Stones1Bird
Follow
Checkout my Instagram @smallbudz to see the Small budget grow setup for indoor use, low watt, low heat, low noise, step by step.
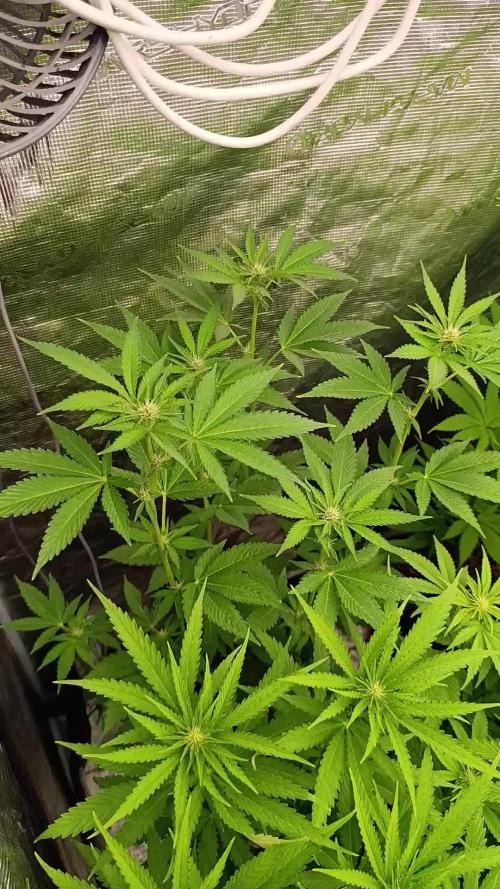
17/02/2020 - Fed her 1.5l of 6.4PH water with 0,2ml of each: Cal Mag (Atami), Grow, Bloom and Max, and 0,5ml of each: Heaven, Alga-mic and Vera, noticed some run off, I use about 1/4 of the nutrient dosage on the chart, to achieve about 100/150PPM (500 scale).
She's starting to smell like smelly feet.
22/02/2020 - Last feed, gave her 1.5l of 6.5PH water with 0,2ml of each: Cal Mag (Atami), Grow, Bloom and Max, and 0,5ml of each: Heaven, Alga-mic and Vera, noticed some run off, I use about 1/4 of the nutrient dosage on the chart, to achieve about 100/150PPM (500 scale).

Likes
10
Share

@420DeepGrow
Follow
📆 Semana 3
Las plantas alcanzan el punto máximo de estiramiento, mostrando una rápida expansión de las puntas principales y una consolidación de la estructura formada durante las semanas anteriores. Las ramas secundarias ganan protagonismo y comienzan a igualar alturas, creando una superficie de floración más uniforme y eficiente para el aprovechamiento de la luz.
Los primeros grupos florales empiezan a definirse con claridad en todos los puntos de crecimiento. La demanda de agua y nutrientes continúa aumentando, impulsada por el elevado ritmo metabólico propio de esta fase. La planta dirige gran parte de su energía a establecer la futura producción floral mientras mantiene un crecimiento vegetativo residual.
⚡ EC: 1.6 – 1.7
💧 pH: 6.2 – 6.5
🌡️ Agua: 21°C
🌫️ Humedad: 45–50%
💡 Intensidad: 900–1000 PPFD
🔥 Nota de cultivo: La tercera semana de floración suele marcar el final del gran estiramiento y el inicio de la verdadera formación de cogollos. Una correcta gestión de la nutrición, junto con una buena circulación de aire y una distribución uniforme de la luz, permitirá que cada punto floral alcance su máximo potencial durante las próximas semanas.
Seguimos creciendo fuerte 💪!

Processing
Likes
37
Share


@Hellhazard
Follow
Bloody Skunk has really started stacking the last week. She is very thirsty, drinking over a gallon every 2 days. The 375W COBs and 250W MARS Epistar LEDs have her budding at a feverish rate now. This is when I get excited about my grows...starting to see what you'll end up with.
I kicked up the Bud Candy and started adding RAW bloom microbes to my medium.
There is some slight yellowing at the very bottom fan leaves, nothing critical. The main stalk and branches are very strong and stiff, this plant could withstand a hurricane :)
There will be around 15 colas on her. Should be an outstanding harvest if this keeps up.
Watered yesterday with a bigger blast of nutrients and additives...trying to push the limits on her. Bud sites are filling in nicely but no frost is really there as of yet...uploaded video.

Likes
1
Share

@Bones_1986
Follow
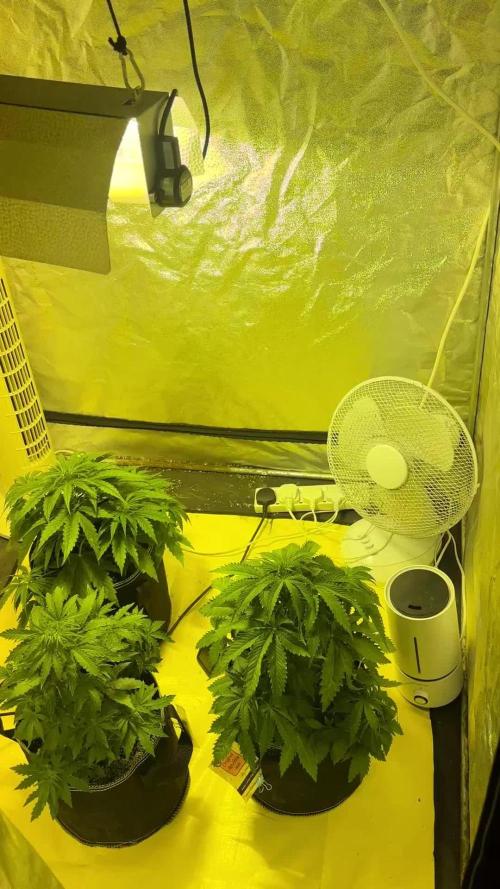
Day 21. Fed just over 1.5L only yesterday and they appear to be really thirsty girls with the pot already feeling light however with the slight curling of Leafs maybe suggests slight overwatering.
Im also thinking a very slight mg deficiency so will add a little cal-mag on the next feed.
Gonna wait at least another 24 hours then Introduce bloom and top max. Would like these to stretch a lot over the next week. Already starting to smell. With this tent being in my garage and the outside temps dropping from 10 degrees now down to 0 the temp inside the tent has gone from 27 to 22. Turned extraction fan down to help hold the heat but with the night 600w HPS on 24-0 as well as plenty of inside airflow, absolute no issues.
Day 23
Just shy of 2L per plant. Responding well. Very early signs of flowering, still stretching about 1” daily really wanna see these shoot up over the next 5 days
Day 25 currently 12-14” height.
Plants are thirsty so another 1.7L fed today.
Day 27.
Cotton berry.
Lacking a little N, so upped the grow. Growing nicely


Likes
10
Share

@Z420Organics
Follow
Kannabia Run – Weekly Update
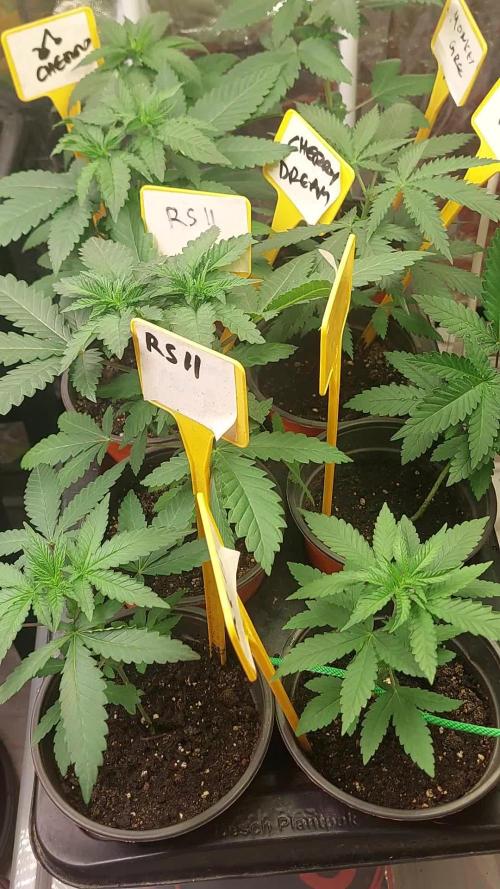
The plants are doing really well! 🌱 Most of them have already been topped, although 4 of them showed some signs of stress — nothing too worrying though.
Unfortunately, the transplanting schedule has to change. Due to some work that needs to be done in the growroom, the girls will have to stay one more week in their current pots. Hopefully, this won’t delay things too much!
Once the work is done, they’ll go straight into their final 10L pots. From there, it’s just about 2 weeks before we flip to flower 🌸. I need to finish this run a bit quicker than originally planned, but we’re pushing forward strong! 🚀
For feeding, the plants are currently on a light schedule:
Fish Mix (BioGrow) at 1.5 ml/L
Alga Mic at 2 ml/L
Given one after the other, every other watering 💧.
pH is kept between 6.0 – 7.0, and ppm levels range around 400–550 for now. 🌿

Likes
91
Share

@420DeepGrow
Follow
Este seguimiento es posible gracias a la colaboracion de Anesia Seeds, MarshHydro y 420DeepGrow.
💡El Mars Hydro TS 3000 es lámpara de cultivo LED más grande de la serie TS, ofrece suficiente cobertura para un área de 4 × 4 pies con un precio asequible y rendimientos de calidad; a cambio, puede aplicarse tanto al cultivo doméstico como al cultivo comercial.
Puedes comprarlo aqui:
https://marshydro.eu/products/mars-hydro-ts-3000-led-grow-light/
La Vanilla Frosting es la más destacada de todas las variedades de Gelato 🍦 de los últimos años y tiene un crecimiento extraordinariamente fuerte y resistente 💪.
Las flores se vuelven densas y brillan 💎plateadas debido a su gruesa capa de resina. Algunos fenotipos adquieren un hermoso brillo púrpura durante la floración. El aroma de Vanilla Frosting es abrumadoramente delicioso y tiene una clara nota de vainilla con aromas dulces que recuerdan a los caramelos. No querrás dejar de fumarla. Sin embargo, debes tener cuidado porque esta cepa es muy potente y puede catapultarte fácilmente a un viaje de aventura al espacio. No podrás volver de esto pronto.
Las plantas de esta variedad forman flores largas, grandes y pesadas que se ahogan en resina y brillan como cristales de hielo. Al increíblemente dulce y delicioso sabor a vainilla le sigue un subidón de combustible, impulsado, entre otras cosas, por un estimulante contenido de THC de hasta el 29%.
Consigue aquí tus semillas 🌻🚀:
https://anesiaseeds.com/es/product/vanilla-frosting/
📆 Semana 9:
Continuamos con la etapa de engorde, esto va que vuela 😍, la resina esta muy presente ❄️ , el cogollo central es impresionante
Esta semana estará el TS-3000 de MarshHydro al 80% y 30cm de distancia.
Se estan desarrollando mejor que nunca, con una floracion mucho mas rapida, noto una gran mejoria gracias al Marshydro TS-3000.
Se que va bien de nutrientes, ya aclarando
Continuo con defoliaciones
Aplico una solución con nutrientes EC 1200 y otra con agua del grifo reposada y PH 6.6

Likes
17
Share


@CZ420CZ
Follow
more later
3rd Apr, today is day of two Amnesias - its time. they are on peak trichoms are milky 10% amber. Zkittles is on grotek final flush strawberry I trying if it change her smell and she is good now, but I fed her week ago with rocket fuel some fertilizers for peppers (11-6-8) coz im was out with bloom fertilizer, Amnesia 3 get this feed too but little bit improvemed with bio grow and rest of biobloom, yesterday I bought Powder Feeding PK booster/mineral and thats should be good. More later after some smoke :D
Likes
17
Share


@BudsBanditUK
Follow
The stickiest plant I have ever grown. The smell is out of this world. Very very strong smoke, enough to put me in a coma! Great plant will grow again.

Likes
16
Share

@Hempcules
Follow
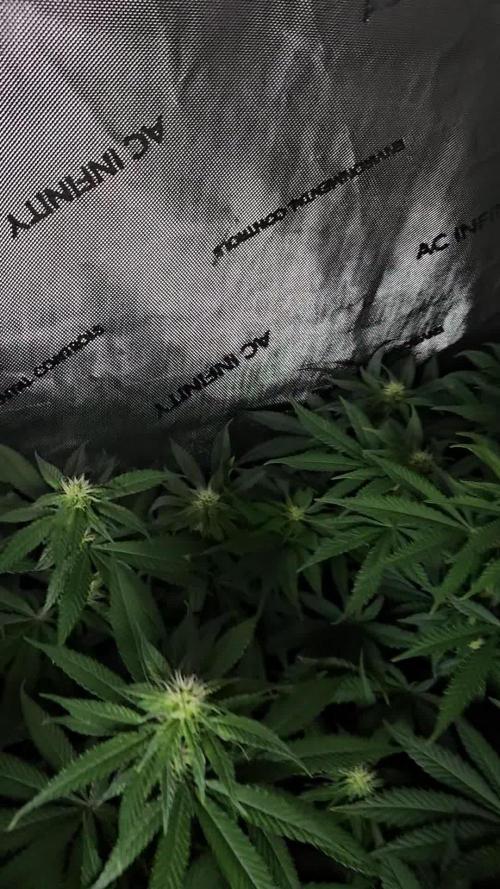
WEEK 9
It only went somewhat well with my plant. For several days now, I’ve been dealing with a magnesium deficiency. I’m adding some CalMag to the regular watering now, and it seems like things are starting to improve.
Other than that, the plant is doing okay. It doesn’t have a particularly strong stem, but it does have a nicely bushy shape. It stretched very little — so little, in fact, that I had to prop it up a bit so it would be roughly at the same height as its neighbors.
So far, I’m only mildly impressed. This strain probably won’t be a big yielder and seems to be quite demanding when it comes to nutrients. That would be forgiven if the terpene profile turns out great. I’m hoping for the best, but up to now, this isn’t an overwhelming strain
PPFD: 800µmol/m²/s
Water: 2x water, 2x nutrient solution

Likes
16
Share


@CanarianGrow92
Follow
Again only water for this last week, wonderful smell and nice hard and sticky buds, not too fat, but i did several toppings here! Im sure this smoke is going to be a hard hitter, i really love the final smell of this plant, nice genetics, i did noted a slight difference in the phenotypes, i still have another plant in veg, im sure i get some clones of that one and see if i keep her 😁
Soon we will harvest

Likes
92
Share


@Roberts
Follow
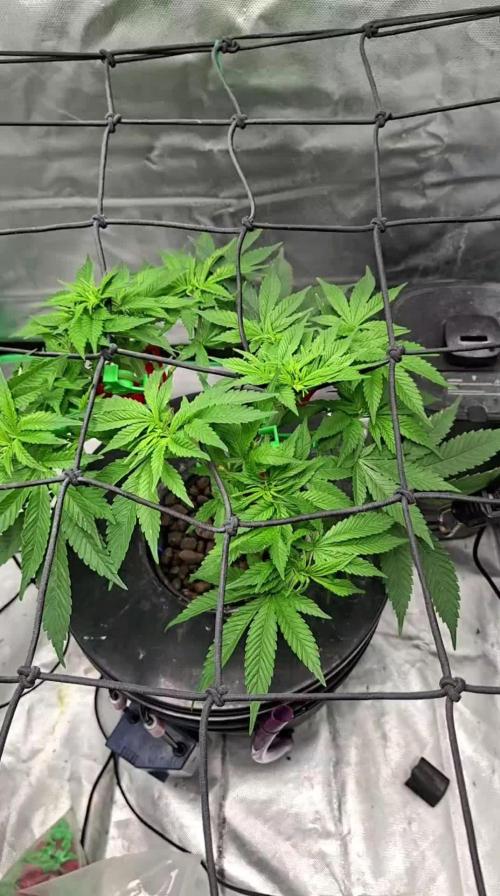
Apple Fritter is doing good. I changed solution today, and adjusted levels to suit her needs better. She is not showing any flowering signs beside a litter stretching so far. She is under a Spider Farmer SE5000 light at 70 percent. She is in a New Level Hydro bucket. Thank you New Level Hydro, Spider Farmer, and Amsterdam Marijuana Seeds. 💪 ❄️🌱🤜🤛
Http://amsterdammarijuanaseeds.com
Thank you grow diaries community for the 👇likes👇, follows, comments, and subscriptions on my YouTube channel👇. ❄️🌱🍻 Happy Growing 🌱🌱🌱
https://youtube.com/channel/UCAhN7yRzWLpcaRHhMIQ7X4g
SE5000
https://amzn.to/3qFpAML
Spider Farmer Official Website Links:
US&Worldwide: https://www.spider-farmer.com
UK: https://spiderfarmer.co.uk
CA: https://spiderfarmer.ca
EU: https://spiderfarmer.eu
AU: https://spiderfarmer.com.au
Coupon Code: saveurcash
Www.newlevelhydro.com
Www.hygrozyme.com


Likes
3
Share


@Mett420
Follow
Un po’ di problemi con la lampada, il bulbo non era di qualità e momentaneamente con il bulbo lumatek si spinge effettivamente come volevamo.
Likes
36
Share


@Bubble_Budz
Follow
Grow notes week 3
#1 This plant is healthy and thriving. She’s the first to show pistols which means I should change her status to flowering but I won’t do that until it’s pretty obviously in flower. She’s taking the training nicely and I think I’m starting to figure things out when it comes to training.. the trick is to simply SLOW DOWN.
#2 is looking great! Her leaves are healthy and node spacing is just how I like it to look. She likes LST and seems happy with the maxi grow/bloom series. The roots on each plant are healthy and white
#3 is getting greener each day but I’m starting to believe it’s either genetics or this nutrient line that’s causing this effect.
#4 is the thickest and biggest plant of the bunch. However, she is displaying rust spots and potential calcium or iron deficiency on the lower older leaves. I may have to feed heavier on cal mag while running this nutrient line up.
Thanks for reading this far! I hope you enjoy these time lapses of this weeks growth.. as always
Stay highly dedicated & highly medicated folks 🔥🌿😎💨
Peace & blessings upon you!

Likes
8
Share


@Sinktip
Follow
It's bizarre how tall one of the four plants is getting. The other three are short - about 60 cm but the one is a good 30 cm taller. Fewer buds too. The entire plant just looks like a different strain. If it is, then I hope it's feminized - I don't want to have everything go to seed!
