


Likes
Comments
Share


@Theia
Follow
Jack got too tall so I snapped her two mains down into a 90 degree HST fracture. Should get a nice knuckle to take the weight and now the canopy is even.
Feeds are up to 1.8ec grow is removed and more pk added this week.
Getting our first flowers so will deploy the UVB this week.
Thanks.

Likes
2
Share

@Billzbudz
Follow
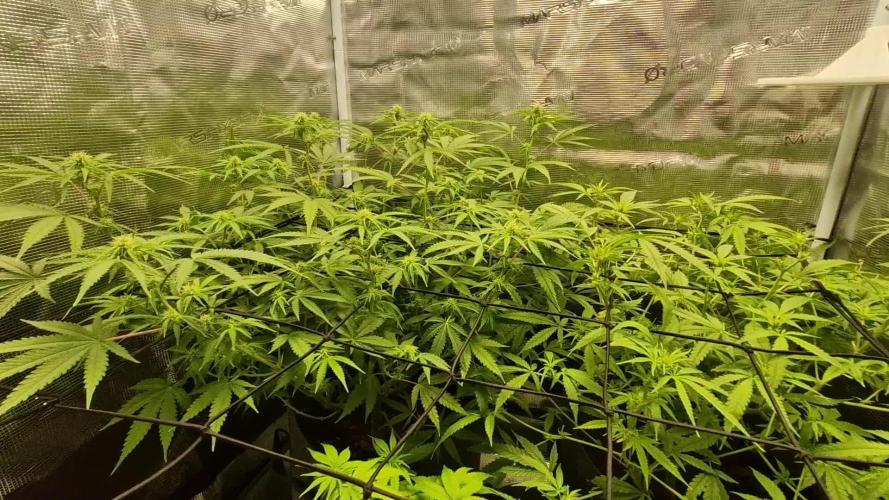
2 alien og are triving at the mins 1st week into flower little bud hairs stairting to form..Had to trim back tonight and thats the last gonna leave them be..Started giving big buds nuts with all there other feeds today we see how that goes ..so dar so good..


Likes
23
Share


@Zuppler
Follow
Grow Report by Zuppler - Week 9 Flowering Phase 🛀
Ayy, what’s good, fam? Zuppler back with that quick Week 9 update. Bruh, these plants are lookin’ straight beautiful right now – real queens in full bloom. Buds are thick, frosty, and sticky as hell. The weight on ‘em is somethin' serious, and they’re packin’ up like champs. (Gemäß § 6c Abs. 2 des deutschen Cannabis-Gesetzes beachten wir die zulässige Höchstmenge von 100 Gramm getrocknetem Cannabis für unseren Zwei-Personen-Haushalt. Alle darüber hinausgehenden Mengen werden gemäß den gesetzlichen Vorgaben unverzüglich vernichtet, um sicherzustellen, dass wir uns stets im rechtlichen Rahmen bewegen.)
I’m ‘bout to harvest real soon, lookin' at Week 10 for the chop. They’re ripe and ready, almost all milky with just a bit more amber to come. Smell’s insane, resin’s on point – everything’s lined up perfect.
Zuppler out. Next stop: harvest time, baby!


Likes
44
Share


@Hempface86
Follow
Here we go, guys week 3 of flower is starting and she is starting to stack.. She smells wonderful.She's crowning absolutely everywhere, and i'm here for it.. Big thank you to Zamnesia Seeds for sponsoring this grow and others.. So far guys, their genetics have been top notch, not gonna lie.. Shout out to Patricia over there at Zamnesia the link that ties Zamnesia seeds and grow diaries together.. i'm very excited for this one.Thank you all for stopping by showing some love.It is greatly appreciated.. Hope everybody's ladies are doing exceptionally well and so are they.. good luck to everybody with their ladies and happy growing ✌️

Likes
2
Share


@Organic473
Follow
Finally decided to sow these seeds from the diary "Sensi Seeds Durban V1" crossed with Sensi Skunk Regular Male. I will be vegging these girls hopefully until the dry seasons starts here late January 2025 Jah will.
Processing
Likes
15
Share


@Dico29
Follow
5th week of flower, the plant has stopped growing and focused on the buds.
Both plants look nice, I’m hoping the 3 gallon plant gets fatter before the end though.

Likes
2
Share

@MrWeeedWorld
Follow
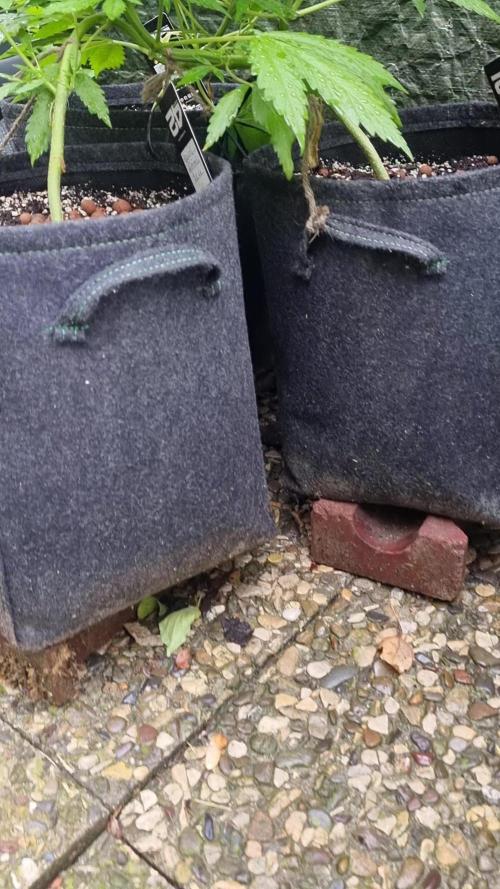
🍑 Apricot Automatic – Woche 8 | Blütewoche 3
Diese Woche zeigt sich endlich das wahre Ziel dieses außergewöhnlichen Projekts.
Was ursprünglich als drei einzelne Apricot Automatic Pflanzen begann, entwickelt sich immer mehr zu einer einzigen lebenden Skulptur. Mein Ziel war es von Anfang an, drei Pflanzen so miteinander wachsen zu lassen, dass sie später wie eine einzige riesige Pflanze wirken – und genau das beginnt jetzt Realität zu werden.
Die ersten drei Blütewochen haben den Stretch fast abgeschlossen. Nun richtet die gesamte Pflanze ihre Energie vollständig auf die Blütenbildung. Überall entstehen neue Budsites und an jeder Verzweigung schieben sich frische weiße Blütenfäden in Richtung Sonne.
Besonders spannend ist dabei die gleichmäßige Entwicklung. Statt einer dominanten Hauptcola entstehen unzählige gleich hohe Triebe, wodurch sich später eine unglaublich gleichmäßige Blütendecke bilden dürfte.
Trotz des wechselhaften Wetters zeigt die Apricot keinerlei Schwächen. Regen, Wind und kühlere Nächte scheinen sie kaum zu beeindrucken. Das satte Grün der Blätter, die kräftigen Stämme und die vitale Entwicklung sprechen für eine ausgesprochen robuste Genetik.
Noch ist von den typischen Apricot-Terpenen nur eine leichte fruchtige Süße wahrnehmbar, doch mit jeder Woche wird das Aroma intensiver werden.
Dieses Projekt ist für mich weit mehr als ein normaler Outdoor-Grow. Es ist ein kleines Experiment, das zeigen soll, was möglich ist, wenn drei Pflanzen perfekt miteinander harmonieren und gemeinsam zu einer Einheit erzogen werden.
Die Grundlage für eine spektakuläre Blüte ist gelegt – jetzt beginnt der Teil, auf den ich mich seit Wochen freue.
Vielen Dank an Fast Buds für diese fantastische Genetik und an Plagron, die auch draußen wieder für kräftiges Wachstum und gesunde Pflanzen sorgen.
Three roots... one plant... one dream. 🍑💚
--------------------------------------------------------------------------------------------------------------------------------------------------------------------
🍑 Apricot Automatic – Week 8 | Flower Week 3
Week 8 marks a very exciting point in this unique outdoor project.
What started as three individual Apricot Automatic plants is slowly transforming into what I imagined from day one—a single giant plant made from three perfectly trained sisters growing together as one.
The stretch is almost complete, and all of their energy is now shifting toward flower production. Every branch is stacking fresh white pistils, and new bud sites are appearing across the entire canopy.
The most rewarding part is how evenly the plants have developed. Instead of producing one dominant main cola, the training has created a balanced canopy with dozens of equally promising flowering tops that should mature together over the coming weeks.
Even with changing outdoor conditions, the Apricot girls continue to impress. Rain, wind and cooler temperatures haven't slowed them down at all. Healthy green foliage, strong stems and vigorous growth prove just how resilient this Fast Buds genetic really is.
The famous Apricot aroma is only beginning to reveal itself with subtle fruity sweetness, but I know the coming weeks will unlock the full terpene profile.
This grow is much more than simply growing three autoflowers outdoors. It is an experiment to demonstrate what can happen when three plants are carefully trained to become one living masterpiece.
The foundation has now been built.
From here on, the flowers will tell the rest of the story.
A huge thank you to Fast Buds for these amazing genetics and to Plagron for keeping this outdoor project thriving from the very beginning.
Three plants. Three root systems. One beautiful masterpiece. 🍑🌿🏆
Likes
42
Share


@DogDoctorOfficial
Follow
Yup as i suspected the defoliation, despise on her case a almost no leafs one since she is an auto and she was on her first week flowering, but she did took it like the champ she is and she is aiming to the moon as i like them to do, her bud formation is peculiar and beautiful to my eyes <3 <3 <3 i think i am in live with this Lavender, big shout out to the @SeedsMafia on this outstanding creation of them, very exited to see what she will tell me next <3 <3 <3
As always thank you all for stopping by and for supporting me on this journey, i am super passion about growing and fell blessed to have you all with me on this new journey <3 <3 <3
Genetics -Seeds Mafia Lavender Automatic
Light - LUMATEK ZEUS 465 COMPACT PRO
Food - APTUS HOLLAND
All info and full product details can be find in can find @
https://seedsmafia.com
https://aptus-holland.com/
https://autopot.co.uk/
https://lumatek-lighting.com/
<3 <3 <3 Growers love to you all <3 <3 <3
Auto Lavender Feminized is a very popular type of cannabis, whose strong therapeutic effects are highly appreciated. It has a flowering period of approximately 9-10 weeks and can be grown both indoors and outdoors. It is a resistant variety which can be cared for easily.
This variety is mostly appreciated because it produces strong, durable and resistant plants. Its branches and stem usually grow vertically rather than horizontally. It reaches heights of 120 cm and the harvests amount to 90 grams/plant. In addition, it contains high levels of THC- up to 20%.
As their name suggests, the plants that grow from Auto Lavender Feminized seeds have a smell and taste similar to those of lavender, also comprising mint and rosemary tones. This is a variety of cannabis that is usually appreciated for its pleasant fragrance and high productivity, seeing as its buds and stem produce an impressive quantity of resin. If you’re looking for another kind of feminized, autoflowering variety, Auto Lavender Feminized will not disappoint you for sure!
auto Lavender Feminized is a feminized, autoflowering variety, obtained by crossing the Lavender and Lowryder 2 species. The plants that grow from this variety have a very specific structure: they are tall, vigorous, and have large branches. At the end of the flowering period, the plants acquire an orange-gold shade

Likes
14
Share


@Terp_Derp
Follow
Pretty uneventful week... just keeping a level canopy and letting them fill in.


Likes
45
Share


@tresplantes
Follow
Super nice strain super nice colors with a strong grape Gary Payton Gas smell during flower
Nice looking rock hard buds with a Great Taste and effect all at all im very happy with the outcomings


Processing
Likes
10
Share


@CanadianFillmore
Follow
Start of flushing for the blueberries, both blueberry plants have very heavy, sticky, stank buds, I'm looking forward to harvesting these beauties!
Start of the last week of nutes for the super lemon haze, she has packed in the weight, buds have filled out nicely and stickier than the blueberries. She's still hungrier than the Blueberries, taking an extra 2 liters of feed each week. If the trichomes are showing cloudiness by day 5 of this week, I'll flush her early.

Likes
3
Share


@Kokot
Follow
I went to vacation and my roommate didnt water them at all… they were near dead when i came home… probably lost like a week of growth.
Likes
20
Share


@MrWolfe
Follow
So this round I just lollipopped and didn’t strip the top at all, with better veg next round it’ll work better but I’m having issues with some plants not quite trellised how I’d like. Everything smells great, BCS,BD and WM are getting fat and PKB is frosty and tight. Watering is more of a chore than I’d like I think I’m just going to use some 5s for the next round . Thanks for following along I hope your buds are fat and frosty.


Likes
2
Share

@eldruida_lamota
Follow
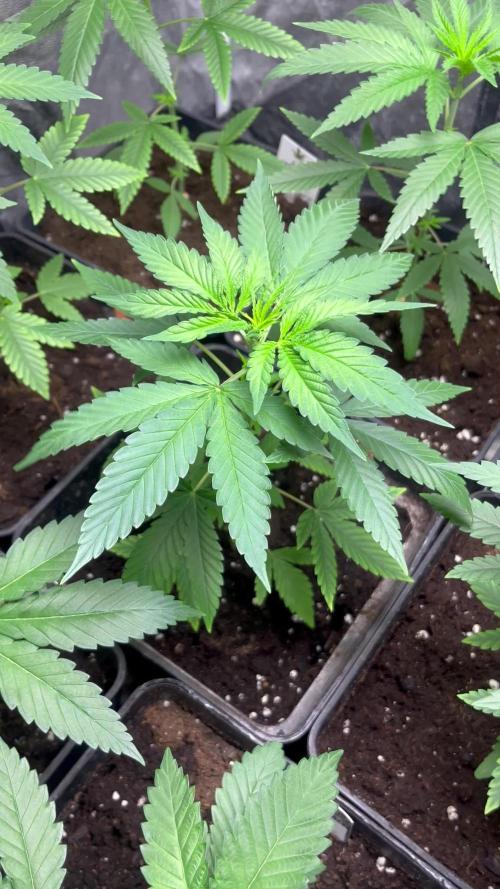
Vamos familia, actualizamos la quinta semana de vida de estas Runtz Punch de Herbies.
La temperatura que estuvo entre los 24-26 grados y humedad dentro de los rangos correctos.
Todavía estamos en el ciclo 16 horas luz, 8 oscuridad, estiraron bien y ensancharon bastante también, el color es verde sano.
Se nota que los nutrientes de la marca Agrobeta hacen sus funciones.
También realicé una poda de bajos que yo si las veo necesarias para explotar después la flor.
- os dejo por aquí un CÓDIGO: Eldruida ,descuento para la tienda de MARS HYDRO.
https://www.mars-hydro.com
Hasta aquí todo, Buenos humos 💨💨💨

Likes
6
Share

@Terp-A-Derp
Follow
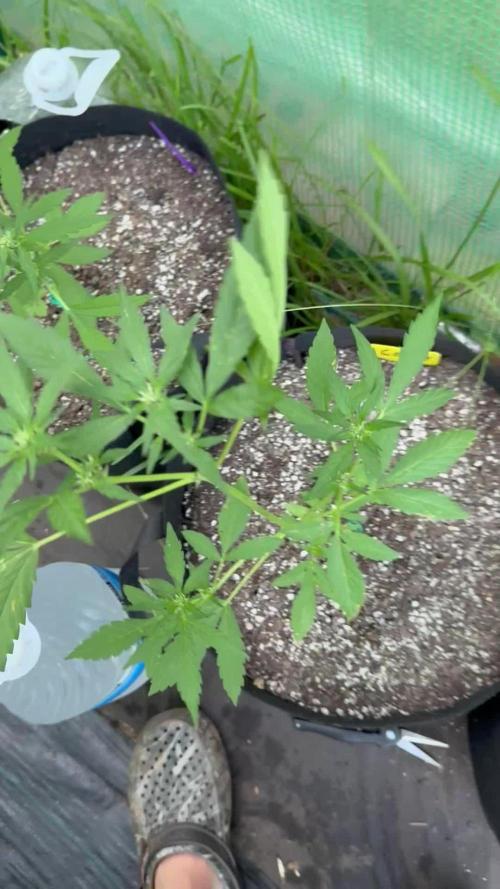
Comet candy is growing well good structure, even the biggest plant now even being a week behind. Tropical like weather this week a couple spots from the heat and something took a few nibbles but noting too serious. Thanks for following.


Likes
166
Share


@iMeus
Follow
As I said in the review this was a tough challenge. I'm hopeful that my second attempt at this strain will be successful. Growers Choice Seeds sent me a few more to give it another go. Alex from their customer service department was very helpful and asked to be kept updated on the progress of the CBD. I'm not sure if GCS will ever see this but here's a big thanks <3
Thank you guys (GD) for all the love and support! It was so awesome seeing the get well messages when I was well enough to sit down and check my computer. Seriously, I didn't expect all of that. I am better, still have a few open wound areas but the healing is happening! :)
Much love you guys!
Meus <3

Likes
11
Share


@VagueReaper
Follow
I attempted some LST and defoliating over the last couple of days. I wasn't overly confident as it was my first time so I decided to take a different approach with each plant so hopefully I don't mess them all up haha