


Likes
Comments
Share


@KaliWeeD
Follow
Vamos a por otra semana mas, 🔥 🔥🔥 los clones estan contando los dias para terminar de coger color


Likes
170
Share


@nonick123
Follow
Día 69 (25/03) Gorilla Cookies FF muestra una ligera necrosis... me preocupa...
Día 70 (26/03) Necrosis en Gorilla Cookies muy avanzada en solo 2 días. Hablo con el gran @dogdoctorofficial y me hace ver que estoy regando mal...
He dejado que se seque demasiado el sustrato! (como en la fase vegetativa) Y la Gorilla Cookies FF al ser la planta más grande y que más agua pide, está demasiado sedienta...
Voy a modificar los patrones de riego para que el problema no persista en Gorilla Cookies FF ni aparezca en las otras plantas!
Riego 0,5 Litro H20 sin nutrientes. TDS 225 PPMs - pH 6,6
Día 71 (27/03) Riego 1,25 Litro H20 + Wholly Base 3 ml/l + Solid Green 1,75 ml/l + Early Flower 0,75 ml/l + Big Bloom 1,5 ml/l de Gen1:11
TDS 1150 PPMs - pH 6,2
Día 72 (28/03) La necrosis en Gorilla Cookies FF se ha detenido 😁 y las flores siguen creciendo
Observa alguna mancha de necrosis también en Wedding Cheesecake FF y decido a subir un poco la lámpara
Ahora el PPFD en apical es de unos 830 PPFD
Día 73 (29/03) Riego 0,5 Litro H20 sin nutrientes. TDS 225 PPMs - pH 6,6
Día 74 (30/03) Riego 1,25 Litro H20 + Wholly Base 3 ml/l + Solid Green 1,75 ml/l + Early Flower 0,75 ml/l + Big Bloom 1,5 ml/l de Gen1:11
TDS 1150 PPMs - pH 6,2
Día 75 (31/03) Detecto una ligera necrosis en Purple Lemonade FF y en Wedding Cheesecake FF.
Voy a aumentar un poco la distancia de la lámpara para tener un DLI de 37, por si fuese estrés por luz.
💦Nutrients by Gen1:11 - www.genoneeleven.com
🌱Substrate PRO-MIX HP BACILLUS + MYCORRHIZAE - www.pthorticulture.com/en/products/pro-mix-hp-biostimulant-plus-mycorrhizae

Likes
11
Share


Likes
18
Share


@VI_Cannabis
Follow
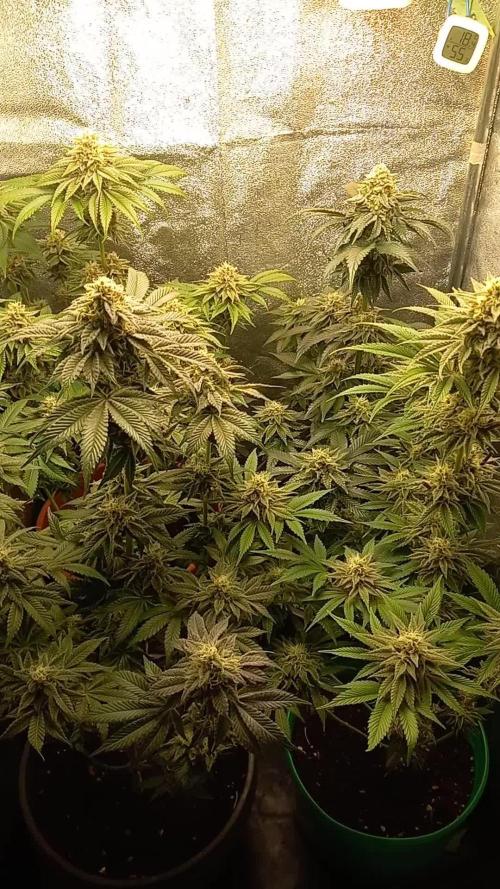
We got the grow tent setup this week. Pretty impressed with the quality. At this point the 2nd plant had died and it was down to just the 2.I was out and about at Canadian tire and decided to check there plant foods. I found some future harvest easy grow +. I decided to buy it so I had some food before I managed to get out to a local store I was recommended to. I gave them the aggressive feeding of 1tbsp per gallon. I gave about 3L between the 2 plants. The next couple of days were amazing. They had grown more in 2-3 days then they had there entire life! I had the dimmer at 50% and figured that was fine for now. It was about 18 inches away. At this point I started realizing I was having a bit of humidity problems so I ordered a humidifier and that’s another week away. I got the humidity up to 45 after that picture and it has been between 43-45 since.


Likes
7
Share


@BiofuelEmpire
Follow
Sorry ive been super busy and havent posted in a while but things are looking great

Likes
1
Share


@Greenpalace_420
Follow
La 4 semana de crecimiento las niñas están estupendas con un montón de baras y ramas para tofos lados y súper
Robustas ya dentro de 1 semana y media entramos en floración señores

Likes
18
Share


@CBDAutoGrower
Follow
Main cola is getting dense and bigger, but all the other little ones are still pretty small, it will be interesting to see how this one finishes. Gave it a little more worm castings and 2-8-4 this week and will be the last feed it gets, from now on it just gets water ph between 6.2 and 6.8. Will continue some minor defoliation and will try to LST it just for airflow from now until harvest in a couple more weeks.


Likes
8
Share


@Aranseed
Follow
Esta semana ya estamos casi terminando, al menos nuestra auto gelato estará lista para el corte posiblemente en unos 10 días mas. Si bien no engordo mucho por el ciclo 12/12 (es lo que esperábamos y el por que no sale nada rentable poner autos 12/12) aun así promete dar una producción interesante y bastante fuerte por la cantidad de cristales que esta mostrando. Respecto a nuestra sublimator y Amnesia Molotov, están prácticamente bañadas en tricomas, con un olor dulce muy intenso y que al parecer tienen mucho mas por engordar y crecer, por lo que todo indica que tendremos una producción bien generosa de ellas. ya la próxima semana posiblemente estemos compartiendo la cosecha de nuestra automática y mostraremos que tal fue el resultado de esta niña sin darle todas las horas de luz que necesitábamos (insisto, no buscabamos el mejor resultado, buscabamos mostrar por que es mala idea poner automáticas y feminizadas juntas al mismo tiempo que aun que parezca loco, es de las preguntas mas recurrentes que me llegan).


Likes
150
Share


@RussianGrower
Follow
Hi, everybody. Today my plants 55 days. They look very good, cheerful. I had a problem with the lamp today. I don't know what's wrong with her after the photo shoot, but she did not turn on even after it cooled down, had to be replaced by a spare, though it has a slightly different spectrum. 😟
I found that the smell was very strong, air filtration fails, the stench goes through a little passive blowing and smells of the whole apartment. When my greenhouse is closed the smell is, but not strong, but when I work in it, it is necessary to ventilate the room for a long time. And for me this dangerously.
But, there is good news, the postman gave me a great fertilizer that will help me get a good and delicious harvest. 💪
Bubblelicious Auto - these plants show a very strong smell, for 4 days it has increased several times, the smell is very strong, but pleasant. The smell of skunk was felt better when you smell a flower, but everywhere smells very strong and sweet smell of Bubble. It is very very sweet, resembles sugar cane, very sweet candy.
Nevilles Haze Auto-very active, the vegetation period is very long. This plant requires a lot of time and patience, but I think it will reward me with a large harvest, I hope so. This plant practically does not smell, but there is a typical smell of Haze. If you want to harvest quickly, this plant will not suit you, be patient, well, I will tolerate.
In General, we will monitor their development. I hope everything will be fine, and my neighbors will not call the police, then I will have a lot of problems, but I'm not afraid of them, because the love of this plant is stronger.
Freedom of the cannabis industry 👍


Likes
189
Share


@Green_Man_420
Follow
Evening fellow growers. Hope all is well and you’re all doing great!
⚠️I’m down to one 😞😞😞😞 the other lady is now chilling in the garden. I was running out of space and no matter what I did I couldn’t get her back.
I will add more pics but it’s just too cold in the garage to have them out.
This has got to be one of the hardest grows i have done. I always knew starting this early in the year was going to be hard and it’s proving that way.
And again a massive shout to James and the team at RQS for supporting me and supplying me with the seeds. 🙌
Here we are week 6 the start of the second week of flower. This lady is moving along alright (I think) although the cold weather is back and has not been to kind over the last couple days. She is still stretching out which is good, some sativa characteristics coming through. Just signs of cold which isn’t the best. The bud sites are forming slowly and the structure of these plants looks good. Let’s see what this week brings. ✌️
Day 37, Watered tonight with 500mil she is doing ok. Added some nutrients in today as she has only been on plain water and looking a little faded. I’ll try get some pics later but it’s too cold to be in the tent any longer than I need to be. ✌️
Day 38, warmer today and this girl is finally starting to love life. Nothing done today just a few photos and a little video. ✌️
Day 39, watered with 500mil and a bit of feed. Took a few leafs off too. ✌️

Likes
121
Share


@DogDoctorOfficial
Follow
One more week here we go 💚🌱💚🌱💚🌱
Week 3 day 18 and the TSW2000 keeps delivering, today i decided to make a little video showing how i water my girls 😇 here is also the link for the Magnum auto TImeLAP video that i just uploaded today https://growdiaries.com/diaries/105893-grow-journal-by-dogdoctor 💚 i hope you guys enjoy it 💚 growers love 💚
And with and enormous honneur and pleasure that i start collaborating with MARSHYDRO, they wore kind enough and send me a 4x4 grow tent and a TSW2000 for me to do tests and reviews, i got to admit the quality on the materials, the easy assembling, the user manual, even the art detail that came with a bunch of cool stickers, are plus things that can not go unnoticed 🙏💚 Thanks Marshydro for so many details 🙌😉 i will try and post them all in here, but you can follow me on my instagram account https://instagram.com/dogdoctorofficial for every day updates , videos giveaways etc, or in my youtube channel- https://youtube.com/channel/UCR7ta4DKLFMg2xxTMr2cpIg keep tuned 💚💚💚
Thank you MARSHYDRO for having faith in my love for growing , lets make magic together 🙏🙏🙏
Genetics - Cookies Fam genetics - 3x SunsetSherbet
Grow tent - MARSHYDRO 4x4
Ligth - MARSHYDRO TSW 2000 @ 85%
Filter - vanguard hydroponics Falcon Filters
Extraction - 2 x vanguard hydroponics 280m3h
Extraction control - SMSCOM Smart MK2
All i grow is medicine for myself, for me and for my best friend with is me 😆 nothing to sell, so don’t even ask 😅💚💚💚
All info and full product details can be find in can find @
https://www.mars-hydro.com/grow-tent
https://www.mars-hydro.com/led-grow-light/mars-ts-series-led-grow-light/mars-tsw-2000-led-full-spectrum-hydroponic-led-grow-light
https://marshydro.eu/ DISCOUNT CODE - DOGDOCTOR 💚💚💚🙏🙏🙏💚💚💚
https://marshydroau.com/
More info and updates @
https://growdiaries.com/grower/dogdoctor
https://instagram.com/dogdoctorofficial
https://youtube.com/channel/UCR7ta4DKLFMg2xxTMr2cpIg
💚💚💚Growers love to you all 💚💚💚
Likes
42
Share


@GanjaReaper
Follow
End of week 22:
Overal it was a good run with the Shamans from @DutchPassion_Official . Didn't had mayor problems besides having to harvest them earlyer. I really wanted to flower them another 2 weeks but the weather/climate didn't allow me to.
Still the buds came out decent as you can see for an early harvest.
I will cure those buds for some time in my pots before they get smoked and will update how much weight I got out of the two plants.
As you can see I made the bigger buds smaller. There is no use for me to keep big buds for showing off. Big buds just have big long stems in it, harder to dry and to fill your cure pots with.


Processing
Likes
21
Share


@LittleBigTrees
Follow
Been feeding just water ready for the chop.
Some of them have all brown pistils and have pretty much stopped all together.
The kalimist indica pheno is still flowering so I'll let it go until it looks ripe 👍
Likes
37
Share

@RakonGrow
Follow
+
data+charts online rakongrow.lima.zone/growme-mango-kush-auto-015.html
Tag 89:
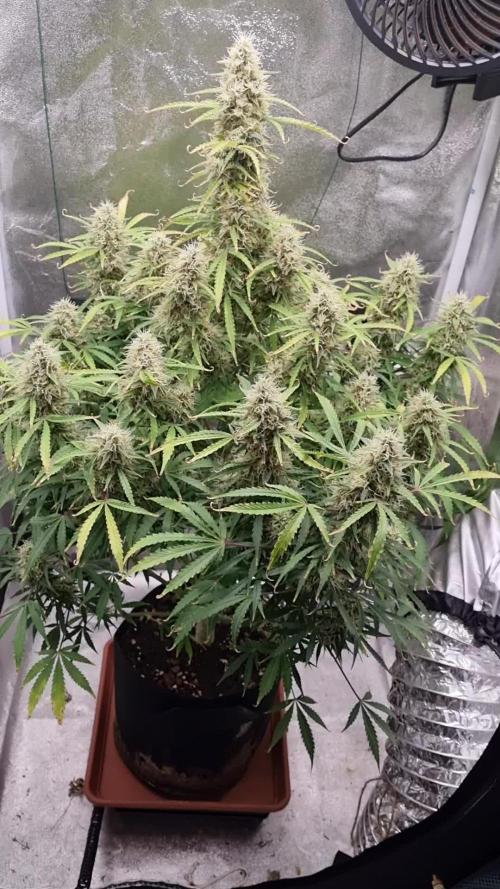
blüten werden fetter , alles altert langsam , dünger funktioniet wieder .
+

Processing
Likes
1
Share


@NitramWu
Follow
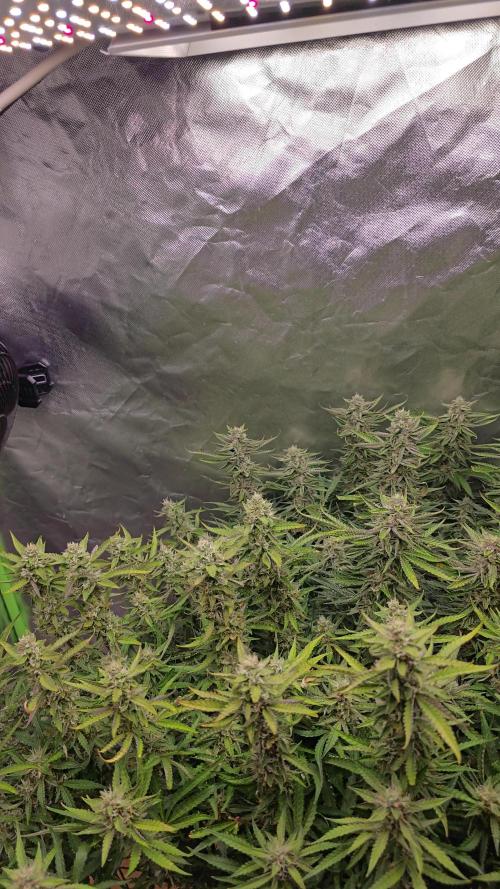
She is really starting to take shape now growth rate has slowed down but not stopped.
Bud sites forming nicely.
Having had a problem consistently for the last couple weeks every time I check on her more aphids!
Few days ago I noticed a small spider had made home under a fan leave and had 2 aphids trapped and another previous meals shell used as camo I presume to capture another meal.
Now with 3 odd weeks left, maybe more as I've read outdoor autos can take up to 2 weeks longer than indoors.(not sure if true yet)
I impulsively brought some nutes for the flowering stage.
Bio Bizz Bio Bloom 1ml/1l
Fed once at lowest feed as don't want to jump the gun and nute burn her.
Will feed her next watering in next 2-3 days.

Likes
3
Share


Likes
48
Share


@BelSun_420
Follow
Hey folks,
Transplant done today, May 30th, into the final pot. Now she’s in Buddha’s hands 🕉️😄
This one was tricky to transfer—I knew it would be tough since I let the roots grow too much due to lack of time to properly focus on this project and the extra time wait for the order with the Leca base to arrive!
That made it hard to separate the soil from the rootball and position it over Buddha. I really should’ve done it at week two, or starting in a smaller pot to avoid all that root chaos! 😅
But hey, let’s see how she responds and what the final result will be!
🤞🏻💚🧡
-------------------------------------------------------------
31/05/2025
When I cleaned the roots, she wilted a bit—as expected—but just a few hours later, that same night, her leaves were perky again, showing that everything went smoothly and she's full of strength! 😄 Today I cut a small branch and a leaf that were growing in the direction I want to twist the plant into a spiral, as you can see in the video. A few more hours and she should be perky again 🙂

Likes
17
Share


@Naujas
Follow
She is much prettier than she was a week ago :) I remembered that I have my first grow light, which is more compact and it will give me more space, so I changed my light, now the girl's side branches get light too:) I add a lot of video memes, because I really want to win Iphone16 pro ;) and those who don't take risks don't drink champagne:) good luck to everyone.