Likes
Comments
Share


Likes
3
Share


@KushManAdam420
Follow
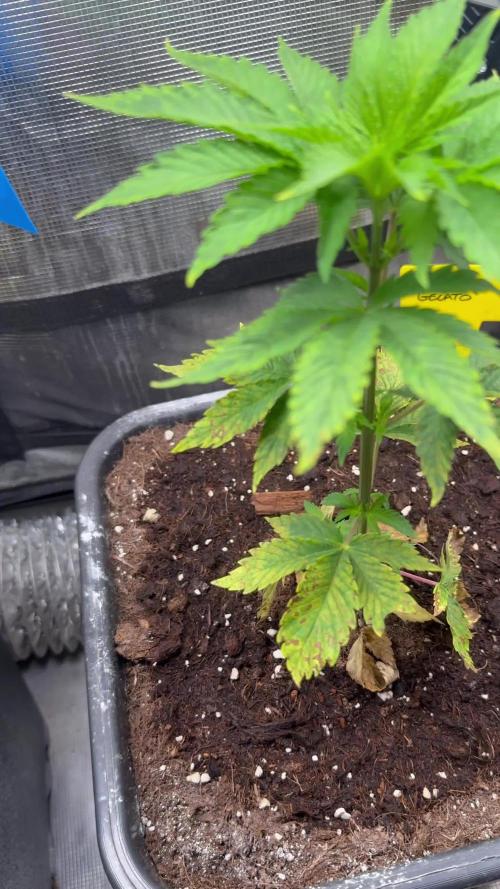
These have surprised me , not even a spot on them.
Wall to wall now , maybe should have went with a total of 7 , but im not complaining .
Few of these are already dripping in thc .
The two largest ones were topped , I have done a defol on them , the smell is definitely there . I might need a filter in the next few weeks .

Likes
8
Share


@LonelyStonerz
Follow
This week we are seeing the girls starting to flower, mixed in a gaia green topdress and chopped it up into the sand, then adding another layer. The sand really does a number on the fungas gnats. Going to do some lollipopping and lots of defolation. Trying to pick and chose which colas to bring to the end. I cant wait to see what this looks like when its filled with bud. After I train tonight its going to be hands off completely besides watering.

Likes
4
Share

@HoneyBlunt42
Follow
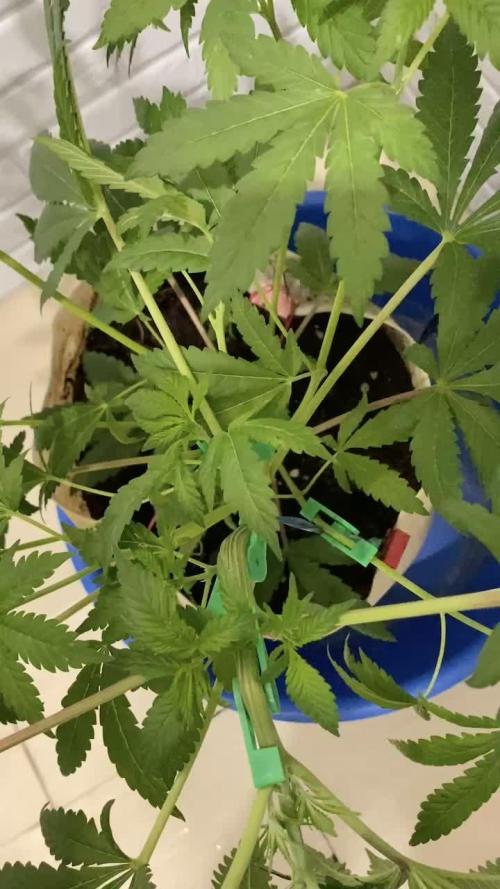
The plant has grown significantly in height, approximately 2-3 times in the two weeks since I switched to 12/12.
It looks healthy and green, with large burdocks the size of a palm and larger on the central cola. I didn't top or trim this shoot.
I started bending it this week, using plastic clips from AliExpress that I stole from Milya. They're even more convenient than rubber bands—no need to tie a ring around the pot and tie to it.
I simply form the main cola parallel to the floor, and the side colas as far away from the main one as possible. This way, I can fill the entire space of the box, and air circulation between the branches will be better.
Yesterday, I watered it with 0.2 liters of BioEnchancer solution.

Likes
21
Share

@TrickzGrowz
Follow
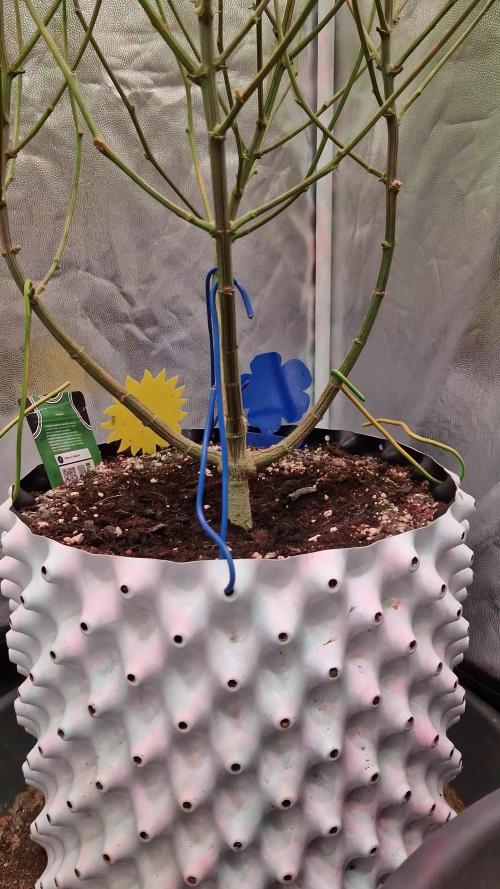
Bis jetzt, von allen 4 im Zelt, die am meisten frostet. Bin gespannt wo die Gorilla Melon enden wird.

Likes
7
Share

@Daris_Growmance
Follow
🇩🇪Wintergrow Update ❄️🌱
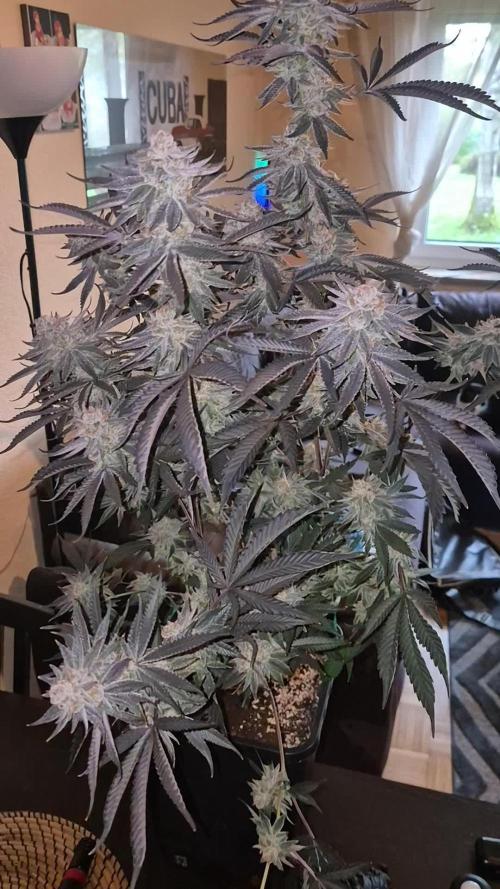
Die Permanent Chimera wurde am Sonntag geerntet und trocknet aktuell in DryFerm Bags – richtig schöne, kompakte Buds geworden 🔥 Bin mega gespannt, wie sie nach dem Curing performt.
Die anderen Ladies, Roswell Code, durften noch eine extra Woche genießen und ihr volles Potenzial ausbauen 💪 Sie haben jetzt ihren ersten Flush hinter sich und gehen langsam aber sicher in den Endspurt.
Man sieht richtig schön, wie sie jetzt ausfaden und die letzten Reserven mobilisieren – genau so stellt man sich das zum Ende vor 👌
Wenn alles nach Plan läuft, fällt am Wochenende die Axt ✂️🔥
Alles in allem ein richtig solider Run, bin mehr als zufrieden 🙏 Jetzt heißt’s: Endspurt und dann genießen 😎
🇬🇧Wintergrow Update ❄️🌱
The Permanent Chimera was harvested on Sunday and is currently drying in DryFerm Bags – turned out with some really nice, dense buds 🔥 Super excited to see how she develops after curing.
The other ladies, Roswell Code, got to enjoy an extra week to fully mature 💪 They’ve now had their first flush and are slowly heading into the final stage.
You can clearly see them fading now and using up their last reserves – exactly what you want to see towards the end 👌
If everything goes as planned, harvest day for the rest will be this weekend ✂️🔥
Overall, a really solid run – more than happy with the results 🙏 Now it’s all about the final push and then enjoying the rewards 😎

Likes
6
Share


@The_holy_gardener
Follow
Hola estimados.
Gracias a Dios todo bien esta semana, el jueves 07 su primer día 12/12, hoy ya mostrando su preflora, el riego foliar con cannaboost hizo que este proceso fuese rápido (a mi parecer). Así que justo hoy comenzamos a contabilizar las semanas para ver de cuantas semanas son de floración.
Hoy hice una desfoliación.
El riego intercalado entre los dos bases que uso, foliar 3 veces por día de cannaboost, hoy inoculando trichodermas, y mañana el riego con el mismo ec que he venido regando, ya que desfoliamos, y esa subida de EC que siempre aconsejan las tablas de cultivo, no será necesaria, ya que la energía producida se distribuirá entre menos hojas, y lo restante se va al desarrollo de las flores.
Solo usaré el feeding grow dos veces mas, una mañana y otra para la siguiente desfolación.
Eso ha sido esta semana de encierro, la ventaja dedicarle tiempo a esto y obviamente compartir con la familia.
Se les quiere a todos, que mi Señor Jesucristo bendiga sus cultivos y sus vidas.
Genesis 1:19
Likes
32
Share


@Hawkbo
Follow
Sorry for the delay was in a wedding this weekend came home and been trimmin like a dog the past few days and didnt have time to do the update but I'll do another one before tuesday to get back on track. As of Friday sept 6 its day 46. In the video the plants from back left to right are ..
Gelato-> Cream Cookies -> Gelato
Middle row from left to right are Lemon A.K 1 -> 6 Shooter-> Lemon A.K
Front is Tester 5 -> Lemon A.K -> Tester 26
5 is prob gunna be done first
Likes
2
Share


@PatriciaGant
Follow
and every day we come closer to harvest hmmm time is torture now. best grow i ever done nutrients controlled only once in week plant very vorgiving all my mistakes. awesome. i bend the side down and well im breake it so i hope he will survive and i call it planed HST.


Likes
21
Share


@Indicate
Follow
I accidentally gave the babies a drink mixed with a shot of dehumidifier chemicals. I mean, there’s stiff learning curves being a first time grower but that is just thick as pig shit territory. It only dawned on me the next day and I rapidly flushed. Think the orange bud is looking a little healthier, but they are both hanging in there. Chemicalicious.

Likes
2
Share


@TEKNOGROW
Follow
CONTEST TEKNOGROW
BIG BUDDHA SEEDS
BUDDHA TAHOE
GROWER GIOVANNI
www.teknogrow.it
Instagram @teknogrow


Likes
35
Share


@Stinkfox
Follow
She’s bulking up and smelling nice! Couple more weeks and I’ll be in Blueberry heaven! I added some Cha-ching this week and I’ll be flushing from here.

Likes
6
Share


@SavageGarden
Follow
Another week is over.. last time in week 9 i gave them some nutes for the first time, mix of biobizz grow-bloom-fishmix-calmag. Flowers become bigger and there is a nice odor in the greenhouse.
Likes
44
Share


@SooSan
Follow
12/12 + 61 jours
Vu qu’il y a 16 plantes mais que sur growdiaries on ne peut mettre que 8 variétés j'ai divisé en 2 diaries pour le bas de la tente
1️⃣
🏠 90x60x90
☀️ FC-E 4800 => puissance a 75%
🍁
1x Black Bomb / Philosopher Seed
2x Amnesia Lemon / PEV Seeds
1x Blueberry / PEV Seeds
1x Blueberry / 00 Seeds
1x Wappa / Paradise Seed
1x Dark Phoenix / Green House Seed
1x Quick Sherbet / Exotic Seeds
1x Mango Cream / Exotic Seeds
1x Banana Frosting / Sensi Seed
1x Hindu Kush / Sensi Seed
3x Fast Mix / Sweet Seed
📎 https://growdiaries.com/diaries/122084-grow-journal-by-soosan
📎https://growdiaries.com/diaries/124052-grow-journal-by-soosan
2️⃣
🏠 30x60x50
☀️TS1000 => puissance a 80%
🍁 4x Quick Sherbet - Exotic Seed
📎 https://growdiaries.com/diaries/122080-grow-journal-by-soosan


Likes
104
Share


@Schnabeldino
Follow
_____ Week 14 | Day 99 - 105 | 7th week of flower ______
Day 93 🌞💧
- 3 liter each Plant, small drain.
Day 94 🌞
- Since I'm a bit afraid of mold, I run the fans at a higher speed, which causes the leaves to rub against each other and causes physical damage to the leaves. A few tips are burnt but nothing to worry about.
-------------------------------------------------------
Temp. avg. - 22,6°
Hum. avg. - 53,6 %