Likes
Comments
Share


@Solitude
Follow
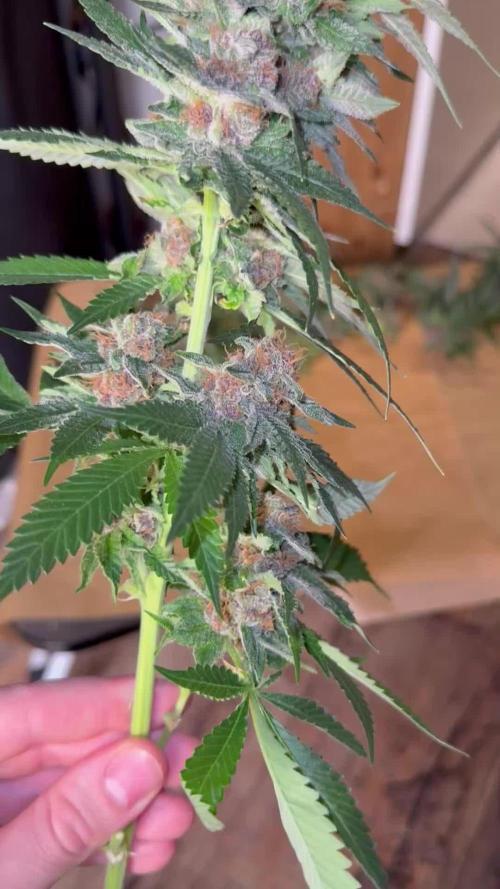
Can't wait to blazeeee
Feeding💪
10/17 Water30L+Cleanse80ml+calmag@190ppm
Ph6.3
Ebb 10.42/11.32/12.26/13
Clone 11.35/12.21/13.05/14
Average runoff ec1.5
Keeper 300ml per pot
10/18 Water26L+Flawless90ml+calmag@300ppm
Ph6.3
Ebb 11.38/12.24/13.17
Average runoff ec1.2 ph6.5
Clone 12.38/13.56/15.20/16.10
Average runoff ec1.5 ppm750
10/19 Water26L+Cleanse80ml+calmag@200ppm
Ph6.3
Ebb 11.12/11.48/12.24
Average runoff ec1.4
Clone 11.50/12.12/12.37/13.37/14.40
Average runoff ec1.3 ph6.6
10/20 Water30L+Cleanse30ml+Calmag@190ppm
Ph6.4
Ebb11.42/12.22/13.20/14
Clone 12.40/13.20/14.20/14.45/15.15
Average runoff 1.2ec ph6.4-6.7
10/22 last light day
10/23 2 Pm Cut and hang
Plan 21day at 23temp 55rh

Likes
36
Share


@Regenwurm
Follow
Die Bedingungen sind perfekt, ich bin mit der Entwicklung sehr zufrieden. Diese Woche ging es in die Blüte, Lichtleistung wurde erhöht und es wurde heftig entlaubt um den versteckten Trieben Licht zu geben.
Tage der Keimungsphase = 7 Tage.
Tage in Wachstum = 21 Tage
Tage in der Blüte = 7 Tage
Wachstum h Woche 1 Blüte = 10 cm
2 mal in dieser Woche mit Purolyt Mischung 1:25 besprüht
Lichtstärke: 90 %
PPFD: ca. 850 umol
Lichtabstand: 40 cm
Std Tag/Nacht: 18/12
Temperatur Tag: ca. 25 Grad
RLF Tag: 60%
Temperatur Nacht: 21 Grad
RLF Nacht: ca. 60 %
VPD Wert: ca. 0,9
PH Wert Wasser/Düngelösung: 6,3
EC Wert: nicht gemessen
Ventilator Oszillation: Stufe 1
Befeuchter: an
Entfeuchter: aus
Zusätzlicher Entfeuchter: 0 Stk. außerhalb vom Zelt im Raum
Bewässerung: 2* bewässert 1 l/Pflanze mit Dünger mit den o.g. Mengen
1 * pures Wasser mit 2 l/Pflanze
Purolyt Besprühung: 2 mal
Besprühung Fastplantspray : 1 mal
Controlling: Grow Control
Dünger: Greenbuzz Nutrients
Licht: Pro Emit Vollspektrum
Abluft: EC Carbon Active 750 m3
Danke an Zamnesia für die Seeds, den sonstigen Merch und natürlich das Vertrauen in die Kooperation
https://www.zamnesia.com/de/10681-zamnesia-seeds-pineapple-express-f1-automatic.html
Danke auch an Mia von GB:
https://greenbuzznutrients.com/de/
Ihr bekommt 25 % Rabatt bei der Nutzung des Codes auf der GB Homepage
https://greenbuzzliquids.com/de/shop/
Code: GD42025
(Mindestbestellwert 75€)

Processing
Likes
4
Share


@DRO420
Follow
Magic Melon is taller and has grown faster since the first week, now it's buds are growing twice as fast as the Super Silver Haze. Lights are 12 inches from top of buds.
Processing
Likes
23
Share


@MadeInGermany
Follow
Day 6 since the time change to 12/12 hrs.
Hey everyone 😃.
The stretch by moving into the flower tent has started 🤗.
It develops beautifully and makes beautiful stable Shoots from 👌.
Since I unfortunately ran out of Grow Liquid, it is already getting full bloom Liquid.
Which is unfortunately not perfect, but there is no other way in this situation :-(.
I hope that you will still do a nice stretch.
I wish you a lot of fun with the update, stay healthy 🙏🏻👌 and let it grow 😎
You can buy this Strain at
https://thecaliconnection.com/seeds/girls-scout-cookies-34.html
You can buy the fertilizer at
https://www.greenbuzzliquids.com/
Type:
Girls Scout Cookies
☝️🏼
Genetics:
GSC Tint Mint
👍
Vega lamp:
2 x Todogrow Led
Quantum Board 100 W
💡
Bloom Lamp :
2 x Todogrow Led
Cxb 3590 COB 3500 K 205W
💡💡☝️🏼
Soil :
Canna Coco Professional +
☝️🏼
Fertilizer:
Green Buzz Liquids :
Organic Grow Liquid
Organic Bloom Liquid
Organic more PK
More Roots
Fast Buds
Humic Acid Plus
Growzyme Big Fruits
Clean Fruits
Cal / Mag
Organic Ph - Pulver
☝️🏼🌱
Water:
Osmosis water mixed with normal water (24 hours stale that the chlorine evaporates) to 0.2 - 0.4 EC. Add Cal / Mag 2 ml per l water every 2 waterings . Ph with Organic Ph - Pulver to 5.8 .

Likes
4
Share


@GrowinSho
Follow
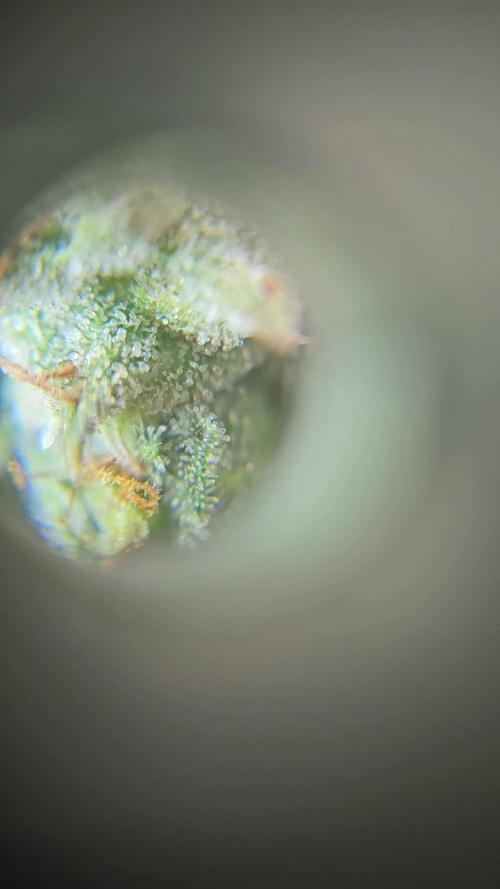
Unfortunately she's coming down next week with everything else. I don't think she'll be ready but, I need that space. Im still not getting the smell I would like. Smells good on my fingers but can't smell it in the tent.



Likes
42
Share

@MadeInGermany
Follow
Hey everyone ☺️.
This week it has developed really well and has finally taken on color again :-) 👍.
The additional nutrients as described last week have taken off. 1 liter per pot is poured twice this week 🤗.
Today it goes over to the flower tent 👍.
Otherwise there is not much to report this week.
I wish you a lot of fun with the update, stay healthy 🙏🏻 and let it grow 🍀😊
You can buy this Strain at :
https://sweetseeds.es/de/cream-caramel/
Type:
Cream Caramel
☝️🏼
Genetics:
Blue Black
x
Maple Leaf Indica
x
White Rhino
👍
Vega lamp:
2 x Todogrow Led
Quantum Board 100 W
💡
Bloom Lamp :
2 x Todogrow Led
Cxb 3590 COB 3500 K 205W
💡💡☝️🏼
Soil :
Canna Coco Professional +
☝️🏼
Fertilizer:
Green House Powder Feeding
☝️🏼🌱
Water:
Osmosis water mixed with normal water (24 hours stale that the chlorine evaporates) to 0.2 EC. Add Cal / Mag to 0.4 Ec Ph with Organic Ph - to 5.5 - 5.8 .

Likes
Comments
Share


Likes
71
Share


@DogDoctorOfficial
Follow
Greetings, fellow cultivators! Week 6 has brought us to a pivotal moment in our Anesia adventure as we witness our green beauties reach new heights of vitality and vigor. Join me as we delve into the latest developments in our thriving veg garden!
Our Anesia girls continue to impress with their robust growth and lush foliage, each plant a testament to the care and dedication poured into their cultivation. From the graceful Future#1 to the energetic Zoomiez, it's a sight to behold and a joy to witness their journey towards maturity.
But the excitement doesn't end there! As we enter the final stretch of veg, anticipation is building for the transition to flower and the promise of bountiful blooms to come. With each passing day, our plants grow stronger and more resilient, ready to face the challenges of the flowering phase head-on.
And speaking of excitement, I'm thrilled to announce that Episode 1 of "Welcome to the Green Oasis" is now available on YouTube! Join me as we embark on this journey of growth and discovery, exploring the wonders of our green sanctuary and celebrating the beauty of nature in all its glory.
So be sure to check out the link in my bio and join us on this epic adventure. Don't forget to like, comment, and subscribe for more green goodness, and stay tuned for the next chapter in our Anesia saga. Until then, happy growing!
https://www.youtube.com/watch?v=8l_e2Jc2Q0E Welcome to the Green Oasis: Episode 1 - Tent Transformation! Direct link with full explanation of whats happening as the video is to big file to upload here
Genetics Red Banana Pudding = RBP
Apricot Oreoz = AO
Zoomiez = Z
Future#1 = F
https://anesiaseeds.com/
Plant nutrition - Aptus Holland - https://aptus-holland.com
LED Photons - Future of Grow - https://www.thefuturofgrow.com/
Controls - Trol Master - https://www.trolmaster.eu/
Watering - Autopot - https://autopot.co.uk/
Tent - Mars Hydro - https://marshydro.eu/
Love and attention - Me, myself and i
As always thank you all for stopping by, for the love and for it all , this journey of mine wold just not be the same without you guys, the love and support is very much appreciated and i fell honored and blessed with you all in my life, With true love comes happiness. Always believe in your self and always do things expecting nothing and with an open heart , be a giver and the universe will give back to you in ways you could not even imagine so
More info, the ocasional give-away and exclusive updates from all my adventures can be found - links in the profile description
Friendly reminder all you see here is pure research and for educational purposes only
Growers Love To you All 💚

Likes
97
Share


@Zurban_Poison
Follow
Hello everyone everyone everyone!
It rarely happens!
when the plant is so perfect in everything!
Yes I know! praising your own is not entirely decent.)) but isn't that true? isn't she perfect in everything?
I cannot find any flaw.
I believe that I was able to Raise such a Phoenix to be proud of. which 100% reflects everything that GreenHausSeeds put into this wonderful variety!
for which I want to say thank you very much!
rare varieties so cling to the heart!) I never cease to be surprised and admire how beautiful and ideal she is in her development. this is just a miracle!

Likes
5
Share

@billycardine0420king
Follow
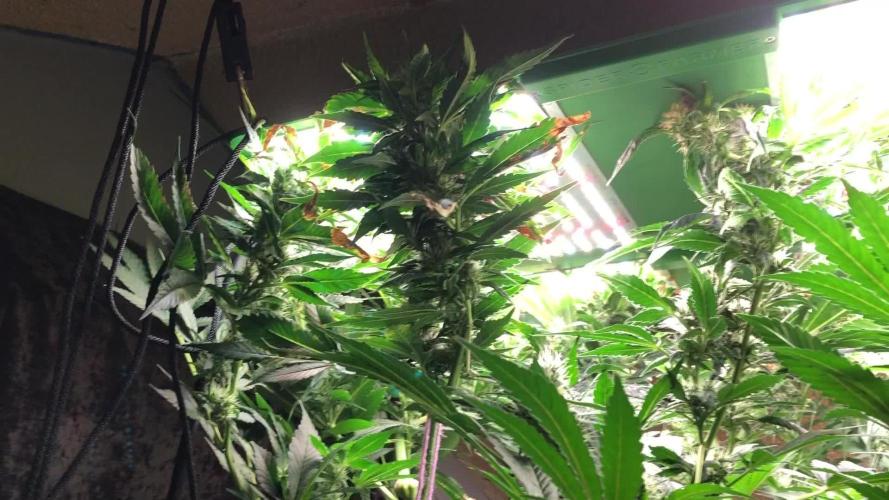
8/23/2025- Emptied and refilled resevoir with the above nutes. Nuggets are smelling stinky now and looking good but I have to be transparent in identifying mistakes, not reporting them only fucks myself in future grows. I have snapped several plants stalks and folded them under my lights as they just grew above the lights to the ceiling. I hated doing this but I simply ran out of room and didnt do any topping or training. That aside, I see lots of fat colas and stinky nuggets, I just blew the sativas a bit by letting them get too damn tall.


Likes
11
Share


@Mr_Motalovah
Follow
Ladies are looking and smelling amazing, truly zenzational!
You can notice the different phenos that came out.
One is pure zkittlez while the other three in bud structure are sweet zenzation (zkittlez x grape ape) in those three two of them smell like grape juice.
Hope that turns out like some fine red wine taste when cured.
Dropped the amount of water a bit and also nutrients.
From next week onward only water.
Likes
20
Share


@WitheredEye
Follow
Took a while per photoperiod plants as a whole. My first grow for photoperiod but I'm impressed. Did well, very stretchy. I smoked some that I broke off 2 weeks ago today also and I loved it. The taste, and the effect is spot on what I like. Super light high, just nice smell and smoke. I would like to find a plant like this 25:1 cbd/thc but as an autoflower. Can't find any online unfortunately.
1.1oz from my first photoperiod. I'm happy! 😍😍😍

Likes
44
Share


@SooSan
Follow
12/12 + 74 jours
Vu qu’il y a 16 plantes mais que sur growdiaries on ne peut mettre que 8 variétés j'ai divisé en 2 diaries pour le bas de la tente
1️⃣
🏠 90x60x90
☀️ FC-E 4800 => puissance a 75%
🍁
1x Black Bomb / Philosopher Seed
2x Amnesia Lemon / PEV Seeds
1x Blueberry / PEV Seeds
1x Blueberry / 00 Seeds
1x Wappa / Paradise Seed
1x Dark Phoenix / Green House Seed
1x Quick Sherbet / Exotic Seeds
1x Mango Cream / Exotic Seeds
1x Banana Frosting / Sensi Seed
1x Hindu Kush / Sensi Seed
4x Fast Mix / Sweet Seed
📎 https://growdiaries.com/diaries/122084-grow-journal-by-soosan
📎https://growdiaries.com/diaries/124052-grow-journal-by-soosan
2️⃣
🏠 30x60x50
☀️TS1000 => puissance a 80%
🍁
Quick Sherbet - Exotic Seed = 12g
Quick Sherbet - Exotic Seed = 12g
Quick Sherbet - Exotic Seed
Quick Sherbet - Exotic Seed

Likes
Comments
Share


@RavenWoodsAlchemy
Follow
12 weeks Amnesia Lemon, lots of mid-flower buds, leaves are now
Likes
16
Share


@Love420bluedream
Follow
Hello, I will start the harvest on June 5th, a purple punch brings a week longer. 🔥💚🔥
Processing
Likes
4
Share


@ZenDoge
Follow
First week, growing a automatic "Borrachinha" (Haze x Manga Rosa). Growing outdoor taking about 6hs of direct sunlight with a HID 250w Lamp (Another 12hs).