


Likes
Comments
Share


@matias_scrog
Follow
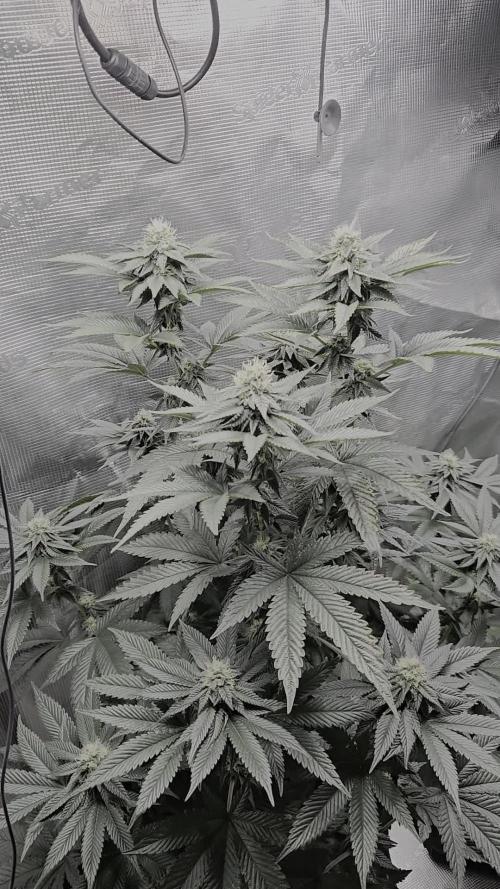
COLOCAMOS LA MALLA Y CAMBIAMOS EL FOTO PERIODO A 12/12. COLOCAMOS BIG ONE PARA EMPEZAR LA ESTIMULACION DE LA FLORACION

Likes
9
Share


Likes
11
Share


@CanarianGrow92
Follow
Week 3 for our banana purple punch 👊 from fastbuds 🍁
We removed the 2 lower branches and leaves. We gave some master root this week.
Some of the plants already showed the first preflowers, flowering is starting soon!
We also placed a net above just in case we need to sustain the buds in later flowering
Likes
14
Share


@PEAKYPLANTERS
Follow
very well, brother gardeners! these little girls go on their way more and more shiny and full of resin
stay tuned for the harvest
🤟🤟🤟🤟🤟🤟🤟🤟

Likes
65
Share


@MiyaguiOkPolilla
Follow
Hola amigo!
Arrancamos un nuevo proyecto, esta grandísima cepa Feral Fuel ABC de @TERPYZ
Semillas regulares, con una mutación muy estable, de porte medio a grande, gran poder sativa, larga floración y poca necesidad hídrica.
La marca recomienda sembrar directamente al sustrato, aquí, en suelo vivo funcionó perfectamente, una no dio a luz pero ya tenemos dos nuevas representantes!
Debo decir que la marca me envió mi paquete de 10 semillas y dentro había 12!!!
Que alegría!!!
Los brotes tardaron 5 a 7 días en aparecer pequeños entre el húmedo ambiente inicial.
Se mantendrán en el tupper hasta que se vea estabilidad.
Saludos a todos y éxitos, este proyecto viene cargado de una gran aventura

Likes
7
Share


@BIYEI
Follow
Vegetacion (Tiempo estimado 28 dias)
Segunda Semana de Vegetacion
14/12/2023 - 5:00hrs y 22hrs: Se Hace cambio de solucion nutritiva y se limpia el recipiente, se verifican parametros basicos del agua, mantener cuidados especificos, el Ec y PPm Varean por los aditivos.
Agua de osmosis: Ph 6.0, PPm 650-800, Ec 1.3-1.6, Temperatura 22°C - 26°C, Humedad 65%
Ambiente: Temperatura 22 °C, Humedad 65%, Ventilacion 15%, 18 hrs de luz , 6 hrs de obscuridad.
15/12/2023 - 5:00hrs y 22hrs: Se verifican parametros basicos del agua, mantener cuidados especificos.
Agua de osmosis: Ph 6.0, PPm 650-800, Ec 1.3-1.6, Temperatura 22°C - 26°C, Humedad 65%
Ambiente: Temperatura 22 °C, Humedad 65%, Ventilacion 15%, 18 hrs de luz , 6 hrs de obscuridad.
16/12/2023 - 5:00hrs y 22hrs: Se verifican parametros basicos del agua, mantener cuidados especificos.
Agua de osmosis: Ph 6.0, PPm 650-800, Ec 1.3-1.6, Temperatura 22°C - 26°C, Humedad 65%
Ambiente: Temperatura 22 °C, Humedad 65%, Ventilacion 15%, 18 hrs de luz , 6 hrs de obscuridad.
17/12/2023 - 5:00hrs y 22hrs: Se verifican parametros basicos del agua, mantener cuidados especificos.
Agua de osmosis: Ph 6.0, PPm 650-800, Ec 1.3-1.6, Temperatura 22°C - 26°C, Humedad 65%
Ambiente: Temperatura 22 °C, Humedad 65%, Ventilacion 15%, 18 hrs de luz , 6 hrs de obscuridad.
18/12/2023 - 5:00hrs y 22hrs: Se verifican parametros basicos del agua, mantener cuidados especificos.
Agua de osmosis: Ph 6.0, PPm 650-800, Ec 1.3-1.6, Temperatura 22°C - 26°C, Humedad 65%
Ambiente: Temperatura 22 °C, Humedad 65%, Ventilacion 15%, 18 hrs de luz , 6 hrs de obscuridad.
19/12/2023 - 5:00hrs y 22hrs: Se verifican parametros basicos del agua, mantener cuidados especificos.
Agua de osmosis: Ph 6.0, PPm 650-800, Ec 1.3-1.6, Temperatura 22°C - 26°C, Humedad 65%
Ambiente: Temperatura 22 °C, Humedad 65%, Ventilacion 15%, 18 hrs de luz , 6 hrs de obscuridad.
20/12/2023 - 5:00hrs y 22hrs: Se verifican parametros basicos del agua, mantener cuidados especificos.
Agua de osmosis: Ph 6.0, PPm 650-800, Ec 1.3-1.6, Temperatura 22°C - 26°C, Humedad 65%
Ambiente: Temperatura 22 °C, Humedad 65%, Ventilacion 15%, 18 hrs de luz , 6 hrs de obscuridad.





Likes
9
Share

@trustno1
Follow
Hi 👋
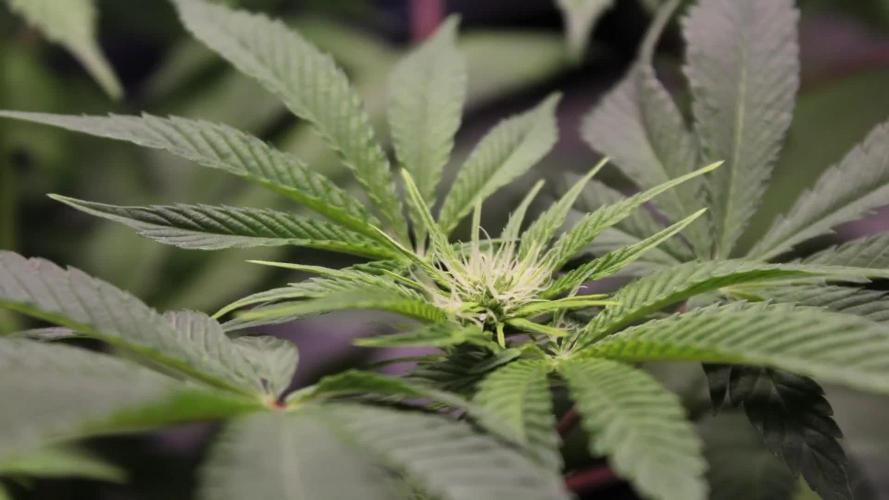
Blüte Tag 35
Lady Broccoli ziert sich noch ein bisschen, aber so langsam aber sicher steckt sie ihre Energie in die Blütenproduktion.
Es scheint so, als hätte sie etwas Chanel Canna No 5 aufgelegt. Sie duftet fantastisch.
Während sich die Dame sich in der künstlichen Sonne entspannt, werden reichlich Green Sensation Cocktails gereicht.
bis zur nächsten Woche
Gruß M.

Likes
14
Share


@EXZELENS
Follow
D29 : Watered with 2L of the mixed nutrients (1ml of Fish-Mix and 2ml of Bio-Heaven), ph´d at 5.8 in order to try to fix some cal-mag possible nutrient deficiency. Lights will be staying at 80% until she is totally into flowering. Did some bottom defoliation as well in order to prevent further thrip problems.
D30 : Well, today was a big experiment day. I was watching some people doing some different types of training and decided to go a little further with my experiences and do some new training. I defoliated her A LOT (hopefully I don´t stunt her), took out the nodes that were on the bottom and had no chance to become at least medium-sized buds. Rearrenged all her LST and now she´s looking naked and beautiful lol. Let´s see how she responds, as I said before, this is and experiment for me to learn more about techniques.
D34 : I did some defoliation today, took out some leaves and some tiny shooters that had no chance to become anything at least medium-sized. Watered with regular 6.2pH water. She´s looking very very beautiful, I have high hopes for this girl :) ! Also rearranged all the LST.
Likes
Comments
Share

@RCUgrows
Follow
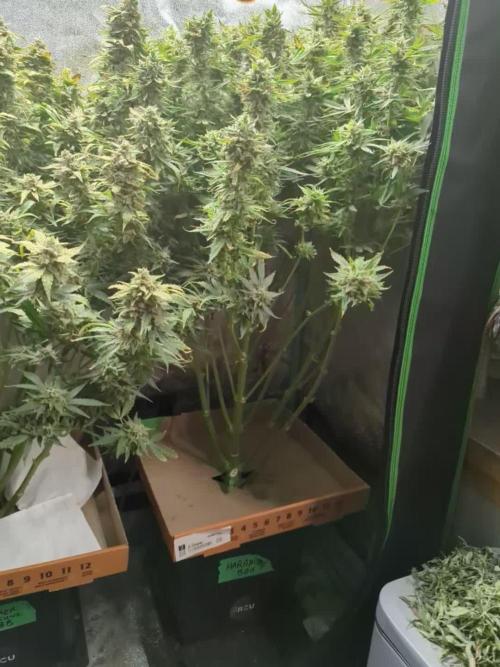
Planned is doing very well. Bud seemed to be much smaller since pollinated. Probably 2 weeks to go for the seeds. Just picked one today. Still pretty green


Likes
11
Share


@JaysBuds
Follow
Day 60 from flip for these girls and they're SO sticky and gooey it's kindof ridiculous. The camera just isn't doing it justice, and they're in bed now so no flash photos. The sweetness has really started to develop, and less vomit smell is most welcome - gassy strawberry apparently takes a while to get right, even with a fast strain.

Likes
38
Share


@LittleBigTrees
Follow
Some are swelling , one is smelling very different to the others .
I seem to have 6 phenos from small to tall and rounded buds to thin spear shaped buds.
I'm not sure which is my favourite yet but one has a very unique smell almost like pineapple and exodus cheese , it could be that one but I also like the bud formation on another,, we will see
Likes
166
Share

@Schnabeldino
Follow
📅 Week 11 | 🗓️ Day 71–77
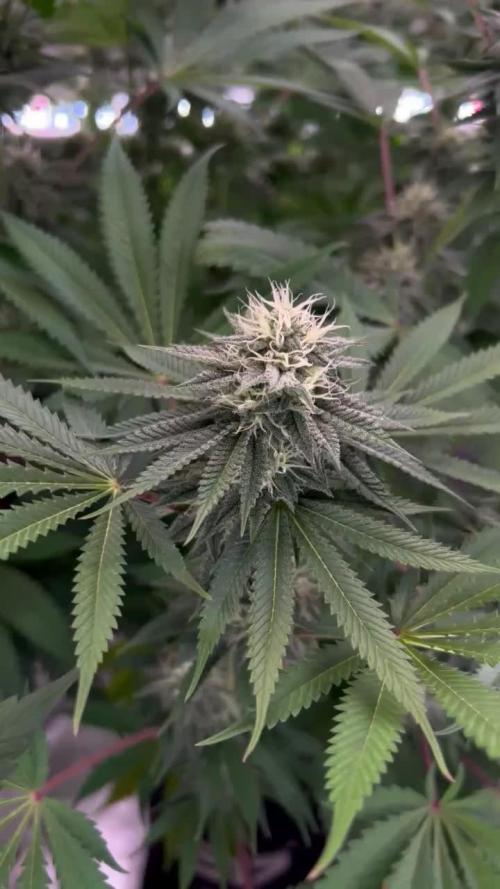
Day 77 – Week 3 til 4 of flower 🌸Papayton 🏀
🔸This week the girls really started packing it on. Buds are swelling up nicely, calyxes are stacked, and those creamy white pistils are shooting out everywhere like little antennas. The sugar leaves are already frosting up heavy – trichomes glisten under the light, and you can tell the resin production is kicking into high gear. Colas are shaping up, and it’s clear where the big towers are gonna form.
🔸The foliage continues to look healthy: a rich green color with no signs of over-fertilization, no claws, and no noticeable deficiencies. The sugar leaves are already well coated with resin, which is a very good sign. The pictures show that the flower structure is growing compactly and vigorously—the plant is in full flow. I will give her BIO PK again for the next watering. She looks like she could use a little more.
🔸The SANlight is now running constantly at 100% with a distance of approx. 35 cm (approx. 1000 PPFD). To ensure that it produces more heat, I have positioned it slightly higher. The leaves appear relaxed and show no signs of stress. The climate remains stable, albeit slightly cool, during the day I achieve almost perfect values of 1.4-1.6 VPD, slightly less on very cool days., but the flowers look very fresh and compact as a result. Good air circulation ensures that the fine resin heads do not become damp.
Climate is right in the sweet spot too:
📈 average daily values
🌡️ Temp = 25 - 26 °C
💨 Humidity = 50 - 55 %
🌬️ VPD = 1.40 - 1,60 kPa
That’s pretty much perfect – low enough RH to keep mold away, but still comfy for the plants. Fans are running on level 5, dehu is on for more temp.
All in all, a super stable week. Plants are cruising, stacking, and starting to pack on that frost. Things are about to get really fun from here. 🚀
🛠️ Setup (unchanged)
💡 2 x SANlight Evo 4-120 on 100%
⛺ 120 x 120 x 180 Spiderfarmer tent
🍯 Pots: 18L fabric pots
🌱 Soil: Bio-Bizz Light Mix
💊 Nutrients: BIO Tabs
📉 ECOWITT Gateway GW1200
🖍️ ECOWITT WH51 Soil Moisture Sensor
Likes
9
Share


@bigolebuds
Follow
Week 8 Day 1: how did we get here?! No major issues. Still learning the ropes when it comes to LST, so the focus these next couple weeks is getting this canopy flat and ready for flower. Any advice is much appreciated. Still need to get those clones out of the tent and need to think about any changes to fertilizing schedule over the next couple weeks. Kids were fed liquid nutrients for the second time 9/8, and will be recieving them once a week moving forward (hopefully every other watering). Gotta find a way to make watering a smoother process tho, might invest in a home RO filter 😂
Big dreams being discussed, this could be the start of the only cultivation, breeding, and distribution center that has a primary focus on re-entry and subsequent business development.. That’s how you do socially responsible business and policy.
You heard me?
Likes
12
Share


@StonedandSteady
Follow
AutoBlueberry breed by #DivineSeeds #DivineSeedsSquad #DivineSeedsBreedingCompany Origin:Afghani/Thai
Type:50% Indica/ 40% Sativa/ 10% Ruderalis
Flowering:56 days
THC:22%
Harvest:400-550 g/m2
Height:110-150 cm
Thier Growing under the #Growatt600w and in my #TopoLite 24×24×48 Grow Tent! I'm also using #TNBNaturals #TheEnhancer Co2 Despersal Canister and using thier Ph⬆️⬇️ for my Decolinated Tap Water!
Green and Growing Up Great! She's leaving her 2nd week of Veg and Stretching out into her 3rd week! She's Growing in my special blend of ProMix potting mix, a 1/2 bag of Earthworm castings and 2 light handfuls of Diatomaceous Earth mixed Up well for before transplanted! Diatomaceous Earth: Diatomaceous earth is made from the fossilized remains of tiny, aquatic organisms called diatoms. Their skeletons are made of a natural substance called silica. WHAT IS DIATOMACEOUS EARTH?
In a nutshell, DE comes from the fossilised remains of small marine organisms called diatoms. Over a 30 million year period, these hard-shelled algae collected on the bottom of bodies of water, eventually forming into a type of sedimentary rock. Fast forwarding, it wasn’t until around 1836 that a German peasant Peter Kasten discovered the ivory-coloured, powdery substance while drilling a well in northern Germany. Ever since, the usefulness of DE for multiple purposes, including industrial and horticultural applications, has been well-reported. Just sprinkle some diatomaceous earth on top of your soil and watch mother nature's secret weapon work its magic.CONDITIONS THE SOIL
When it comes to growing cannabis, everyone strives to provide the best soil to grow the best plants—but there’s always a way to make it even better. Making the soil a better medium is called soil conditioning, which is exactly what diatomaceous earth does. It works by improving the retention of moisture in your potting soil, holding a large amount of fluid and drying at a rate that’s much slower. This natural soil additive also helps to retain nutrients and allows for better oxygenation of the substrate. NATURALLY CONTROLS PESTS
DE is an all-natural, safe-to-use substance that doesn’t harm the cannabis plant with toxic chemicals. The nature of diatomaceous earth makes it useful against most types of insect infestation you might be experiencing; and unlike chemical insecticides, insects can’t develop a resistance to the effects of DE. So once they’re gone, they’re gone for good. DE is an abrasive. and when used as an insecticide, it gradually scrapes away an insect’s exoskeleton, absorbs the fluids, and dehydrates insects and other critters to eventual death. IMPROVES PLANT STABILITY
When using DE in your soil, it can be especially beneficial as it frees up nutrients so that they are made available to the plants as needed. This works via the silica content of DE being absorbed into the plant tissue, which helps improve the plant’s ability to respond and receive more nutrients as DE activates. This in turn results in greater yields and better stability under small pH fluctuations!
https://divineseeds.net/
https://instagram.com/divine.seeds?igshid=osxe2v7en33v https://divineseeds.net/
Thanks Again to All my Friends, Family's, Teams, Sponsors, Followers and Subscribers!!! Your Genetics are Merry Magnificent, Mega Marvelous and Mighty Medical! Love um!!! I really Can't stress enough how Thankful and Grateful I am of All of you and what you've Shared with Us! Means the World!!! It's definitely a Pleasure being able to Grow with these Phenomenal Grow Lights! Please Enjoy! BudBrothers4-Life! Cheers Famz!!! Much Props and Much Topz!💯🔥 #Osree #GrowStarStore #Growatt #TNBNaturals #TNBTeam #GrowYourOwn #Bliss
https://instagram.com/as420.ca?igshid=1f116alw054wp
The Grow Bags: https://www.as420

Likes
15
Share


@valiotoro
Follow
I can’t upload the week comment…
Screenshot🔝
See you soon for the Banana Purple punch in coco😈