




Processing
Likes
18
Share


@DjDaveAtHome
Follow
Blueberry Headband (1) from Humboldt Seeds, Cheese (1) and Orange Juice (1) from Dinafem Seeds.
https://www.dinafem.org/en/orange-juice/
https://www.dinafem.org/en/blueberry-headband/
https://www.dinafem.org/en/cheese/
Lighting
https://www.horticulturelightinggroup.ca/products/260w-qb-v2-led-kit
Soil Amendments
https://www.gaiagreen.com/product-page/all-purpose-4-4-4
https://www.gaiagreen.com/product-page/glacial-rock-dust
https://www.gaiagreen.com/product-page/mineralized-phosphate
http://www.seasoil.com/
Worm castings
Sunshine Mix #4
Epsom Salts
Molasses


Likes
4
Share


@Budking420
Follow
These ladies are already beginning to pre flower strong. I'm super excited to see what one yields more the square 3 gallon or the round 3 gallon. Check back next week to see just how fast they bud & remember its 4:20 somewhere!!!!!
Likes
44
Share


@The_Good_Twin
Follow
11 Sep 2021
Today starts week 2 of the flowering stage and week 10 of life for my lovely Ladies. I did some massive defoliation and pruning the other day and all three of my babies are looking amazing afterwards!! Absolutely beautiful! I have a short video log (I’m not cool enough to call it a vlog), and a few pictures to upload to start this week.
I must admit that I really thought I may have overdone the defoliation and pruning, but so far it’s turning out exactly as I had hoped. There are budlets forming at every node, and all three plants are looking healthy and strong.
I decided to look at my feed chart and to count backwards from the date that they should be ready for harvest and to arrange their feeding schedule. I made a plan where I can provide a good steady level of nutrients in the proper stage of growth, and schedule time for the flush to be done by the time harvest time arrives.
So today I started the Mid-Bloom stage 4 of my Flora-Trio 6 part feeding chart. I’m still giving half the nutrient level until I know there are no issues, then I will adjust to full strength if necessary. At 50% strength each plant was given: CALiMAGic 2ml, FloraMicro 2.4ml, FloraGro 2ml, FloraBloom 4.2ml, Floralicious Plus 1ml, and Liquid KoolBloom 1ml mixed into a gallon of water. The initial pH for all three gallons was 6.3. I wanted to adjust them up, so I added 1.2ml of pH UP to each gallon which adjusted them as follows: C1 - 6.7, and C2/C3 were both adjusted to 6.6.
I still don’t have a replacement TDS meter, so only pH was measured in the runoff. Runoff pH was as follows: C1 - 5.9, C2 - 6.1, and C3 - 5.8. The runoff levels of C1 and C3 are still lower than id like, but still manageable.
As I mentioned several times above; my plants are looking great, and I plan to keep growing them as they are until this method needs to be adjusted or changed. I’m just letting them grow wild. Granted, I’m trying my best for them to grow the way I want, but I’m not using a support net at all (yet). I say (yet), because once the buds start to bulk up, they may need support to stand upright. If that day comes, I’ll use the net. Time will tell.
The temperature in the tent was 82F, and the humidity was 45%. So far my trio is growing beautifully! Enjoy everyone! I am!!
14 Sep 2021
I ended up using only about half of each gallon the other day, so today I gave the rest of each gallon to the perspective plant it belonged to. None of the plants had any real runoff from the amount given today, so I’ll probably start feeding every two days instead of every 3-4. It happens with each grow. The trick is to identify how much they need, and how often. It seems to change with every plant.
So as I stated above; each plant received about 1/2 gallon of water and nutrients that was prepared a few days ago. Each plant received CALiMAGic 2ml, FloraMicro 2.4ml, FloraGro 2ml, FloraBloom 4.2ml, Floralicious Plus 1ml, and Liquid KoolBloom 1ml.
The pH going in was: C1 - 6.7, C2/C3 - 6.6. As I said above, there wasn’t enough runoff to measure, so I don’t have runoff data today.
The temperature in the tent was 84F, and humidity was 57%. I measured each plant and adjusted the lights according to their growth. C1 is now 23 inches tall, C2/C3 are both 23.5 inches tall. I adjusted the lights to all be 15 inches over each plant. Light spill off is still awesome for all three plants, and each one of my lovely ladies is looking absolutely amazing!
15 Sep 2021
My plants are doing AWESOME!! I looked in on them a little earlier today and just sat in my floor and looked at them. They are doing amazing! Absolutely beautiful!!
I have used a support (scrog) net for each of my grows so far; till this one. At least so far that is. I may end up putting it in to support the branches once they are loaded with bud, but for right now I have just let them grow as they naturally want too.
Of course there are some exceptions to that last statement. At the end of my first week of flower I decided to defoliate and prune them down. I did so much defoliation and pruning that I thought I may have hurt my girls, but nope! They have responded even better than I had hoped.
I trimmed off all of the lowest branches that weren’t already long enough to get full light exposure, as well as most of the small intermediate branches growing off of more established branches. The result… every node growing on every branch is developing buds! All of them are getting full light exposure, and ventilation from the fans inside the grow room.
These three are looking better than any of my previous plants thus far. I am very pleased with how they’re doing!
I’m feeding again today because what I gave them yesterday just didn’t seem sufficient. None of them had any runoff to measure; so I’m going to make sure that they do as well as possible!
I’m sticking with the mid-bloom stage 4 of my Flora-Trio 6 part feeding chart at 50% of recommended levels. My plants are doing great at 50% strength so far, so if it isn’t broken, don’t fix it! No deficiencies have been seen, so I’ll keep on keeping on that.
Each plant received a mixture of a gallon of water with the following nutrients: CALiMAGic 2ml, FloraMicro 2.4ml, FloraGro 2ml, FloraBloom 4.2ml, Floralicious Plus 1ml, and Liquid KoolBloom 1ml.
C1 and C2 didn’t take the whole gallon, but about 3/4 of it. C3 took the whole gallon, but that may be because it is in a bigger pot.
The initial pH of each was: C1 - 6.4, C2 - 6.5, and C3 - 6.3. I added pH UP to each as follows: C1 - 2ml, which adjusted to a final pH of 6.7. C2 - 1ml, which adjusted to 6.9, and C3 - 1.5ml, which adjusted to 6.6.
I still haven’t gotten another TDS meter, so no TDS data to report. Runoff for all three plants was lower than I expected. C1 was 5.8, and C2/C3 were 5.7. I really expected them to be near 6.2 or thereabouts, but nope. I’m going to have to keep an eye on that.
The humidity today was 65%, which is pretty good. The temperature in the tent was 84F. It was over 90F outside today, so hot outside = hot in the tent. 🤷♂️
They’re still looking great! Happy growing everyone!

Likes
92
Share

@squalino
Follow
🌿 Journal de Culture : Mac 1 – "Spirit" (Plante #2) – Compte à Rebours Lancé
#Dryrocket
Date du jour : 29/06/2026
Âge de la plante : J+79 (Semaine 12)
Taille actuelle : 136 cm
Évolution :
L'Alien déploie ses tentacules 👽
C’est un grand jour dans le cycle de Spirit. La ligne d'arrivée est officiellement en vue, et la plante continue de muter pour devenir quelque chose d'absolument spectaculaire.
Nutrition & Fin de Cycle (Aujourd'hui)
Dernier repas : Aujourd’hui marque le tout dernier apport en Bio PK 5-8 de Biotabs. C'est le clap de fin pour les nutriments !
Objectif Récolte : Le compte à rebours est officiellement déclenché : elle sera coupée dans exactement 14 jours.
Le rinçage final : À partir de maintenant, c'est diète complète. Place à l'eau claire via l'Autopot pour lui permettre de puiser dans ses dernières réserves, de nettoyer ses tissus et d'exprimer son plein potentiel gustatif.
👽 Morphologie Terrestre... ou Extraterrestre ?
Des têtes hors normes :
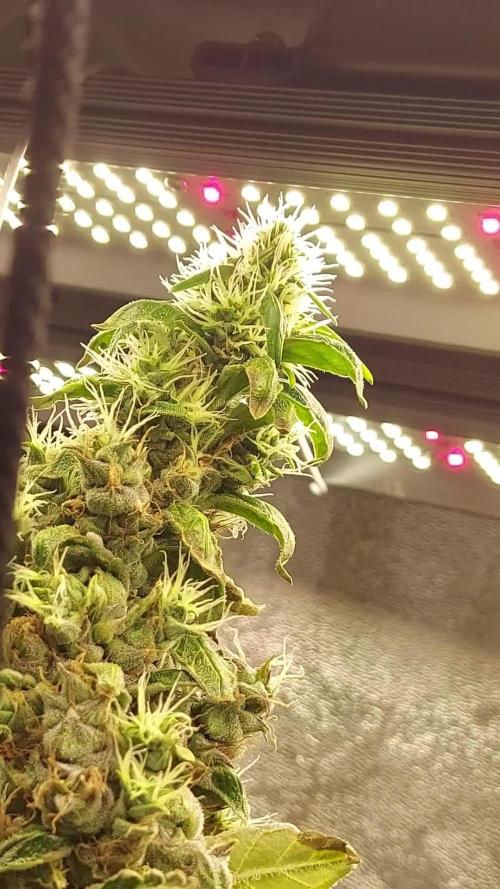
Les fleurs sont devenues gigantesques et débordent d'une quantité impressionnante de trichomes scintillants. J'ai tellement hâte de la récolter pour voir à quoi elle ressemble vraiment une fois manucurée !
L'effet tentacules 🦑 :
C'est la signature visuelle de cette fin de session. Sous l'effet combiné de la chaleur estivale et de la proximité de la lumière intense, Spirit ne fait plus de simples "queues de renard" (foxtails). Comme on peut le voir en gros plan .les calices s'empilent et s'étirent vers le panneau LED en formant de véritables tentacules de résine. C'est le look alien poussé à son paroxysme !
Sénescence amorcée :
Le feuillage commence doucement à se teinter de nuances d'automne .. C'est le signal parfait que la plante reçoit le message et se prépare pour la fin.
⚙️ Rappel Environnemental
Substrat : Géré automatiquement par le système Autopot qui va maintenant assurer la phase de rinçage à l'eau pure.
Climat : Malgré la chaleur qui pousse les sommités à s'étirer en tentacules, la ventilation et l'extraction tournent au maximum pour maintenir l'espace sain et éviter tout problème d'humidité stagnante au cœur de ces buds massifs.
🙏 Remerciements
Un immense merci à @mia_biotabs et à @Mrs_Larimar pour ce programme de nutrition qui aura nourri ce monstre jusqu'au bout. Et un grand clin d'œil à @Dryrocket : le déshydrateur aarive aujourd'hui normalement et sera prêt, le compte à rebours de 14 jours est lancé, et j'espère que mes stocks de silice tiendront le coup face au volume impressionnant qui s'annonce !
Dernière ligne droite pour l'Alien... Le rinçage commence !

Likes
42
Share


@Gabarram
Follow
Happy New Year guys! Unfortunately, the heat has arrived completely for January and I guess that both the plant and I are gonna suffer this. Pistils are getting brown and curly, and I see extensive trichome production on certain buds but not all of them. Also I see the buds in general keep on fox-tailing.
Day 4 Week 16 ( 03-01-2019) she looks good, surviving the hell temperatures in there but enduring. Fertigation is about 600 ppm inflow, run-off 700 pom, I', giving her 0.55 g/L Bloom fertilizer. I see buds are getting thicker. The tent is a jungle. My God, I've never had such a mess., and never grew a sativa like this. I've had a specimen of Nirvana Sky "superauto"; indeed she was a real monster, but even she was autoflowering, I remember topping her early because I was fearing the big size.
But this one is "uitstekend"!
Last pics of the week (this plant's weeks start on Tuesdays). I returned home after a short leave and found her the same as I had left her.

Processing
Likes
6
Share


Likes
37
Share


@Roberts
Follow
I just cut her down like 3 weeks ago. Gd was having update issues. It had pretty purple flowers. They had a nice layer of resin on them. I will update more when I do the smoke report, and have it processed and ready. Thank you Gen1:11, Medic Grow, and Ganja Farmer. 🤜🏻🤛🏻🌱❄️
Thank you grow diaries community for the 👇likes👇, follows, comments, and subscriptions on my YouTube channel👇. ❄️🌱🍻
Happy Growing 🌱🌱🌱
https://youtube.com/channel/UCAhN7yRzWLpcaRHhMIQ7X4g

Likes
13
Share


@Mastr
Follow
Hi guys I flush both plant yesterday due run off ppm was over 2k so I flush it with 15L water each pot and now is 600 ppm
They grow super fast
Likes
18
Share


@Islandbuds420
Follow
She got cut in half🤯 lol jk, I did it myself and is now loving it with 8 different tops and will eventually be trained once it is sexed (were hoping for a female) given the structure is looking good so far!🤞 smells of sweet cola and skunk! thanks for looking


Likes
7
Share


@Organic473
Follow
Mid flower flush with molasses...buds are swelling....rainfall continues in what suppose to be dry season, maybe because full 🌕 is next week.

Likes
13
Share

@420DeepGrow
Follow
📆 Semana 7
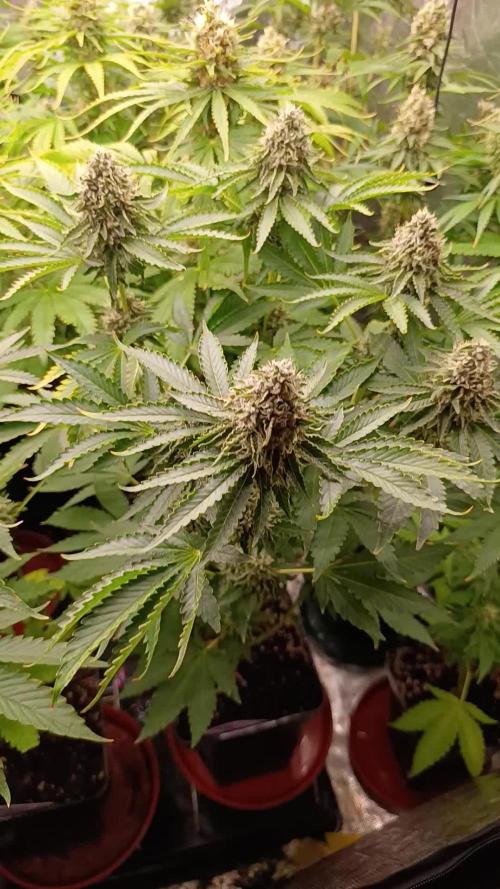
El engorde continúa con fuerza y los cogollos siguen aumentando de tamaño y densidad cada día. Los cálices se hinchan de forma visible, los pistilos permanecen mayoritariamente blancos y la producción de resina alcanza un nivel espectacular, cubriendo por completo las flores y las hojas más cercanas. El aroma gana intensidad y complejidad, potenciando aún más el perfil dulce y afrutado de la genética.
La planta mantiene un elevado consumo de agua y nutrientes para sostener el crecimiento de las flores. La estructura continúa bien aireada y equilibrada, favoreciendo una excelente penetración de la luz y un desarrollo uniforme en toda la canopia.
⚡ EC: 1.8 - 1.7
💧 pH: 6.2–6.5
🌡️ Agua: 20–22°C
🌫️ Humedad: 40–45%
💡 PPFD: 1000–1050 µmol/m²/s
🌡️ Temperatura: 24–27°C
🔥 Nota: Mantener un clima estable, un riego constante y una nutrición equilibrada permitirá que los cálices alcancen su máximo tamaño y las flores completen su engorde con la mayor calidad posible.
Seguimos creciendo fuerte 💪!


Processing
Likes
21
Share


@LittleBigTrees
Follow
I started Flushing two plants as there nearing the end of there days. I'll start Flushing the others this week apart from the kalimist indica pheno as it started flowering 3 or so weeks after the others even though they were all forced together. (alkward bugger)
Some of the plants are showing red /purple colours a little bit 👍
Likes
47
Share


@KA_LE
Follow
- She stretched so much this week, i'm worried shell get too tall for the bucket.
- Drinking a lot more as well.
- No signs of pre-flowers yet, if heard this could be a trait of this strain.
- Cant take any photos because my phone camera broke, enjoy the sick time-lapse tho!

Likes
7
Share


@Adam22
Follow
These plants are extra bushy.. would of defoliated them more but I restricted them alot during veg in the small pots! They did take quite some time to recover from that I think I will just learn for next time
Likes
5
Share

@Ibgrowing
Follow
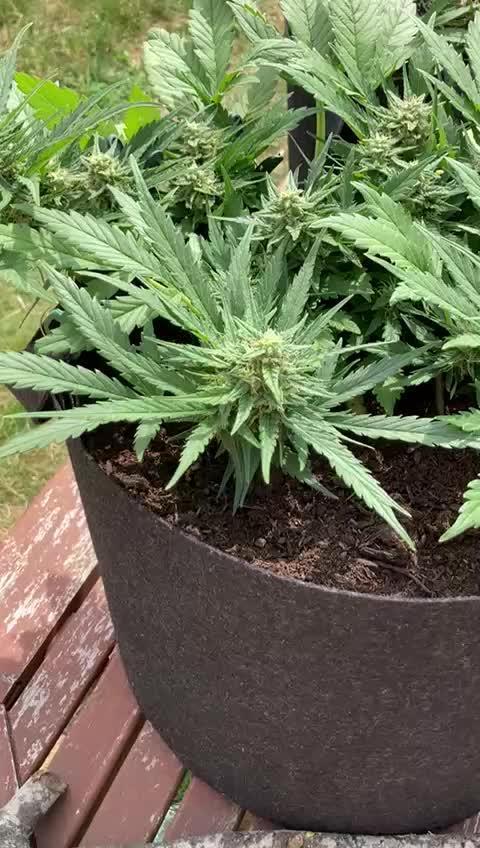
I am not home at the moment so I have someone taking care of my girls. The quality of the video is a bit grainy because of WhatsApp, sorry about that. She is still getting the same amount of nutes, but i will probably up it.
Likes
5
Share


@Ninjabuds
Follow
7 archive seeds are legit super dense tricomb production like nothing I've seen b4. I would NEVER BUY SEEDS FROM ARCHIVESEEDBANK.COM.... they have great genetics but there customer service is garbage. This summer I spent 50 on these 3 seeds and 125 on a 12 pack of reg seeds of a diff strain the reg seeds didn't grow at all and archive never responded they sold me old ass seeds and stole my 125$ I'm happy I already got 32 seeds from the crappy plant of the 3 that I already cut down. I'm letting the last 2 finish up completely


