




Likes
3
Share


@Ferenc
Follow
Stinky, Sweet aroma she will harvested next week. Lovely plant one of my favourite. Nice dense buds pistils are quite dark. I think she will.be ready next week. Nice one. I keep flushing her she is quite wet so just 200ml water goes there a day.

Likes
2
Share


@Saintvicious
Follow
Keeps going. Etsy seeds coming through. I think soon in the grow a cal mag problem comes up. Chime in when you see it.
Likes
9
Share

@Greenthumb85
Follow
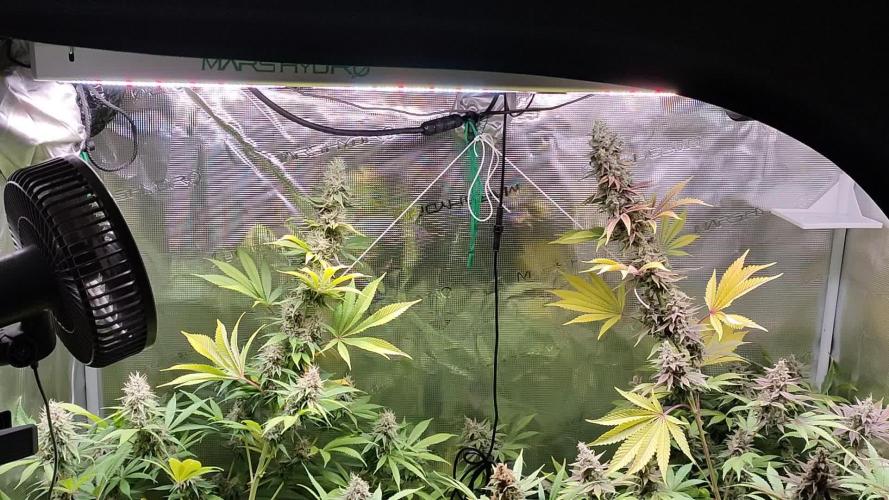
We have reached the final week of flower with these ladies. I plan to harvest these girls within the next few days. The trichromes are pretty much all cloudy with some slowly starting to turn amber. Allot of the leaves have started to turn yellow and are slowly dying. It's natural life cycle is slowly coming to an end. By leaving the window cracked at night, cold air has been allowed in to cool down the room. This helps simulate the autumn and tells the plant it's time to finish. The girls are drinking allot less water.
The buds have swelled up and are very sticky. One plant is quite greasy and super sticky. All have quite a sweet smell. Looking forward to the dry and cure to see how they turn out.
I have been using the Plagron Green Sensation to help with bud development. However, since we are now close to finishing I have stopped using it. The ladies are receiving just plain water.
Thanks again to the sponsors Plagron and Zamnesia. Happy growing and see you guys for harvest soon.


Likes
129
Share


@DreamIT
Follow
🎲➕ VLC Critical Plus + by PEV Grow➕🎲
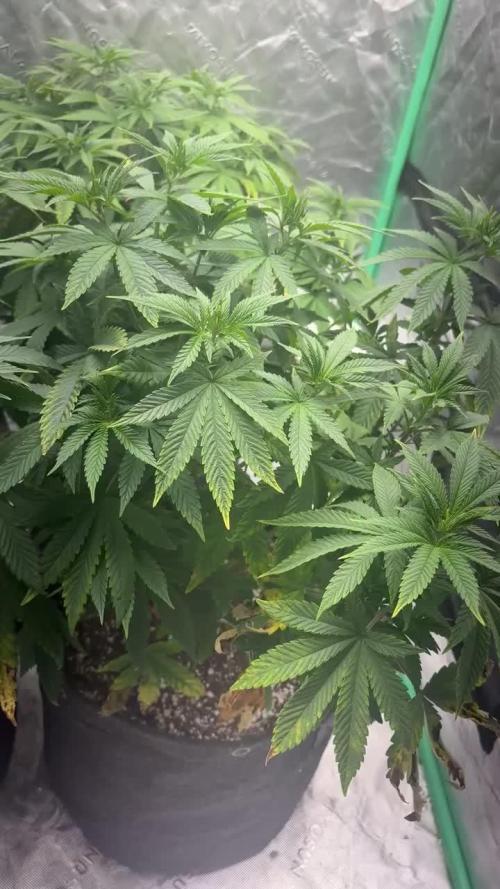
➕20.6 Quiet week start, I dry the soil well and tomorrow I start with the fertilizer, yeah!
➕21.6 All great, you see the changes day after day, really interesting 😁👊🦄
➕22.6 Everything is OK. Very fast, wide leaves for now, we are at the second node. a few days and mainlining begins 🤘
➕23.6 all regular, super yeah
➕24.6 even today nothing in particular to say, I can't wait to be able to manipulate it 😁🦄
➕25.6 It grows really well, very satisfied
➕26.6 All very well, tomorrow transfer next week or mid-week first cut, yeah!
__________________________________________
❓ Are you new to the world of cultivation and don't know where to safely buy your seeds?
😮On the Pevgrow site, you can find the best-feminized seeds indoors and outdoors. Achieved through totally natural stress methods and with guaranteed superior quality.
✅http://bit.ly/PevGrow
ℹ️Check out the marijuana dictionary
✅http://bit.ly/CannabisDictionaryPEVGrow
__________________________________________
👀 Are you looking for a good lamp to start with? 👀
🌞Viparspectra has something more than the others, take a look at their site.
⏩ Use "GDVIP" for an extra discount or "ViparDreamIT" for an extra 5 %% discount
👀 Search for it on Amazon
✅Amazon US: https://amzn.to/30xSTVq
✅Amazon Canada: https://amzn.to/38udUVe
✅Viparspectra UE: bit.ly/ViparspectraUE
👀 Watch my ViparSpectra XS1000 unboxing on YouTube, leave a like and write to the channel 🦄
✅http://bit.ly/UnboxingViparSpectraDreamIT
______________________________________________
📷🥇 Follow the best photos on Instagram 🥇📷
https://www.instagram.com/dreamit420/
🔻🔻Leave a comment with your opinion if you pass by here🔻🔻
🤟🦄💚 Thank you and enjoy the growth 💚🦄🤟

Processing
Likes
8
Share


@eldruida_lamota
Follow
Que hay familia os traemos la 3 semana de nuestras green ak xL, y es que están bastante sanas, tuve que atar las puntas a las esquinas por que la altura se nos fue de las manos.
Tienen muchos brazos laterales, que espero que en unas semanas sean largas colas de flores.
Ph controlado y humedad dentro de los parámetros aconsejables, regamos cada 2 días, y todos los riegos llevan nutrientes.
Esta variedad me tiene personalmente desconcertado, es bastante sensible a los cambios así que procuramos tenerla en una rutina alimentaria y lumínica sin nada de cambios, veremos cómo apremia en unos meses.

Processing
Likes
14
Share


@Mr_Og_GreenThumb
Follow
Today 7/30/19, day 57 and the start of week 9. I'm still continuing to alternate between days with my pesticide treatment (especially after finding that bug living on one of hulkberries fan leaf) and thrive alive green daily foliage spray as a prophylactic solution against any possible pests or mold going into these last few dog days of veg. I will flush them with distilled ph'd water for two days this weekend in preparation for flower. Then I'll start them on some "flower fuel" bloom booster on top of my secret for success flower recipe at 1/4 of the recommended strength.
Outside of that still no adverse issue to report for the end of the 8th week. After my last trim, they both have responded very nicely, I was kind of worried about fat banana stalled growth. But one thing I noticed when I topped her at the 6th node, yes the main stem stopped growing but it developed many bud sites up and down every stem. Whereas hulkberry was topped at the 8th node, she has mainly focused on developing long stems and only 2 or 3 bud sites along her stems. Even though hulkberry in structure, is much bigger than fat banana and has a way bigger root system. Fat banana is bushier and has developed way more bud sites than hulkberry. I can't tell which strain will yield the most at this point only time will tell!
Also, a big shout out to "J"@RQS, thank you for the excellent customer service. Another reason why Royal Queen Seeds is top 3 in breeding!!
Processing
Likes
7
Share


@Alejangrow
Follow
I chopped off extra growth this week. ✂️
I also topped them again cause why not. 🤷♂️🏽
Fed em the recommended nutes 💉
They seem happy. 😊

Likes
3
Share

@MC_Grow
Follow
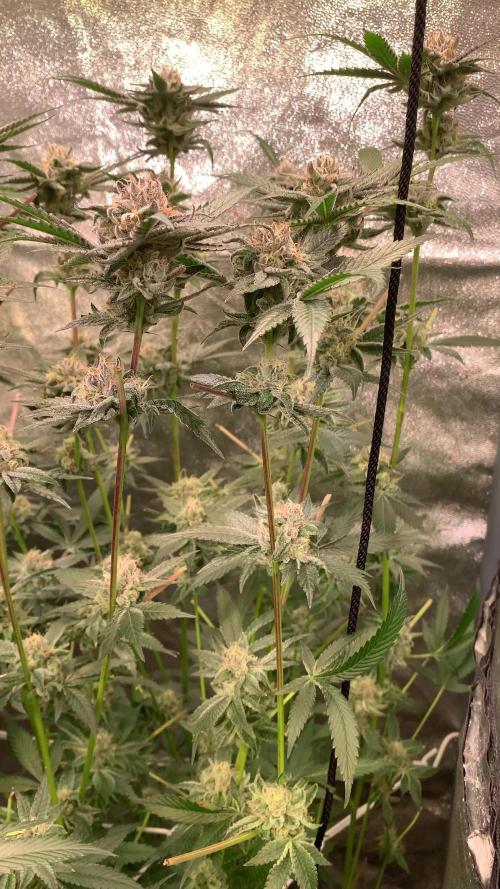
We are at day 47 of 12/12, first day of water only.
I do small defo for better light penetration for lower bud.
Smell on nose candi#2 is insane, pure blend of lemon with spice, cream and gaz. Complex, love it
Champaya#2 is smelling very good, blend of clementine and orange without gaz.
The tropic ozz clone is top tier, very close to a tropicanna cherry but with extra sweetness from peach ozz.
Look like tropicana cherry but enhanced.
Can wait for the harvest


Likes
17
Share

@masterofsmeagol
Follow
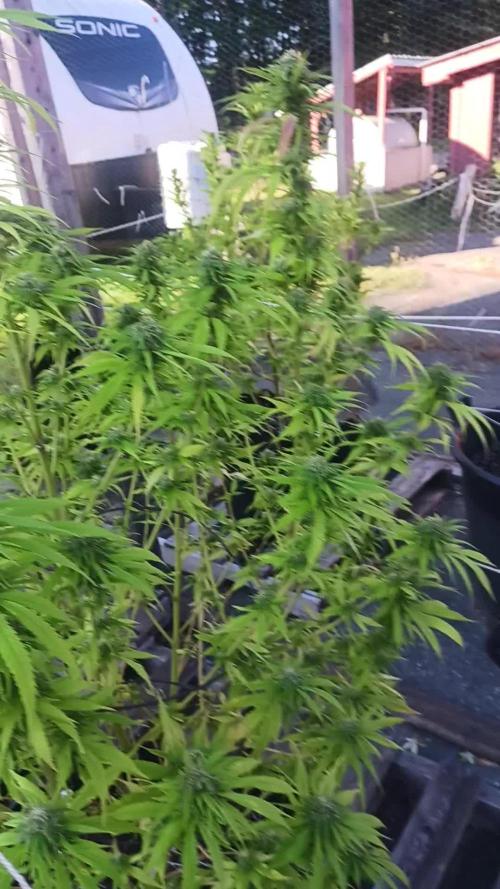
9/13 Took the last special Kush today. I had too. Those fucking locusts were eating more and more. At least the trichs looked good. The second plant is straight fire! They're ALL good. I'll have to do the review. Tenth planet is swelling up and trichs are getting cloudier. They are starting to eat the chem dog too but it needs to bulk up and the trichs aren't there yet. Mk ultra natural may be some of the best quality this year. I'm losing SOME to the locusts but it seems they avoid the frostier stuff. At least I'm hoping. This is a great plantvand despite the nugs being so tight and stuff it just needs more time and im going to give it to her. Pink kush is actually look9ng like it might finish. But the locusts have STRIPPED a lot of that. I'll keep an eye on them and keep this uuodated. I got a notification saying congratulations on a harvester diary. I know these outdoor seasons are long but what difference does it make? Hopefully I can still add week later.
9/14 Weather is good bit it's so dry that the locusts are deafening. Thrips are still around and there's not much I can do about it. Looking at the tenth planet I isolated I can see that locusts stripped the middle some and it was stunted from the thrips. The pink kush looks good but I'm losing g some to locusts. The 10th planet, Chem Dog #4 and the MK Ultra I left natural are bulking up and trichs are exploding! Since I safely have some quality cannabis I'm go8mg to let these ride. Unless I continue to lose substantial amounts. Then my hand may be forced. The pink kush is nowhere near ready though. The others would still be good taken now. Smell is strong and I've looked them all.
9/15 Rained last night. Plants were wet. I probably should've watered. Had to remove two branches due to mold. I also removed a couple small buds that had molded. These 40 degree nights don't do well with rain. I'm losing more and more cannabis daily from those locusts and from some mold that comes with the damage. I've never had a year like this. The sounds the make are deafening. And it's not just at night, or a specific part of the day. It's ALL. THE. TIME. I'm not growing again without floating row covers. I'll loon for some today bur that's like closing the barn door after the horses got out. Oh well. That big 10th planet is ready. I was just waiting for more amber bur I'm not taking a chance losing more branches. I'll think about it and I'll update what I decide to do. I might take that today. Chem dog had thr most damage but last I looked it wasn't where I needed it to be.


Likes
15
Share


@IRIETHINGZ
Follow
Settimana iniziata con un blocco dei fertilizzanti causato da un PH alto, quindi ho dovuto fare vari flush di acqua a PH 6 per regolare la situazione, al momento le piante sembrano essersi riprese
Likes
10
Share

@Crazy_Doofus
Follow
Looks pretty good, will end soon 👍👍💓
31/12 trichomes very little amount amber, very little, so few days more, then cut half way
Likes
45
Share


@KrautFabrik
Follow
Day 54: added some nematodes to kill the fungus gnats
Day 56: nutrients like plan
Last feeding
Pictures are taken on day 56
---------------------------------------------
She develops great buds and is getting some nice colour😎👍 she is the Queen of this run 😁
Happy growing 🍌🌱
Likes
39
Share


@MyStery21
Follow
This Baby just can't stop grow. i wanna smoke this strain so bad so badddd.
To give you an example of why i'm telling you this, check this out.
i have my grow tent with the door open in my house with my infinity at maximum speed 10/10. AC ON 24/7. This days are really really hot over here and if i close the grow tent the Temp will raise up to 85%. Anyway.... 2 days ago i had a visit in home and i was a little afraid for the smell, turns that when they got here the first thing they ask for.... was the fruit that smell like that?. 😂😂
I said that i made a casquito de guayaba (that's a famous cuban dessert made from real guavas) smells very very sweet and taste asome.
This plant smells like that. Like a candy or a very sweet fruit But she's taking her time and im glad of that.
I want to tanks to @jinks101 @Trueorganics84 for the help they give me in this, my first grow. 🙏 thank you all guys...


Likes
5
Share

@Pot_Portraits
Follow
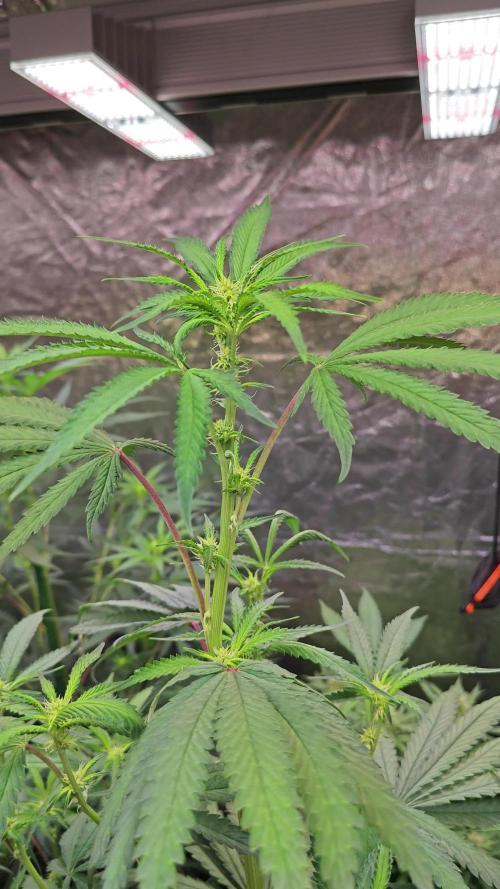
Flower week 2 ! She is doing amazing, tallest plant in the tent, she is much happier now with lower water moisture levels.
She is growing super fast, every day she puts in weight !
Very happy with this one !
Likes
26
Share


@Bakeryguy420
Follow
Coming to the end of week 2 more photos to up loaded!!
New lighting system ended up getting 2 3500k and 2 6500k cobs . Can tell my plants are already loving them fastest growth rate I've seen since my first grow !!
Gg4 and 3 are looking fucking amazing
7 outta 8 in solo cups looking good
Caramella never cracked kinda pissed but it's whatever ! I have one forgotten cookie by metophstic limited edition soaking so let's see :) .
Temps between 77 n 85v
Humidity 70 80%
24 hours on
Water every 5 to 7 days using a one gal
Solo cups get small amounts
So far so good :)!
Further along updated at the start of week 3.

Glueberry Auto · Expert Seeds
Gorrila Glue #4 Auto (Expert Gorilla Auto) · Expert Seeds

Tangie Auto · Fast Buds
Sweet Cream Auto · Expert Seeds

Amnesia Haze Auto · Vision Seeds

Amnesia Gold · Pyramid Seeds
OGesus Auto · Expert Seeds

Royal Haze Automatic · Royal Queen Seeds

Caramella Auto · Custom Breeder & Strain
Rhino Ryder Auto · Fast Buds

Fugue State · Mephisto Genetics
Likes
14
Share


@Farmerted
Follow
She has a getting very close. I feel the next post will be chop. This week has been pretty easy really. She won’t make much but a few big bong loads is no more than I expected from 200 ML of dirt. It has been an adventure!! Now to slow down and let the big girls thrive. This little plant has been watered and checked 3-4 times daily for a while. I may do a tiny pot or solo cup grow again for fun though.. I honestly learned a lot from an extremely root bound tiny plant. I have been away from growing for 20 years to raise my kids free. Now I am legal and learning LED. It has been a fun year.