




Likes
20
Share


@DrGanj
Follow
Still swelling nice. Nice even spread between buds which is allowing all bud sites to grow nicely.

Likes
59
Share


@Neo09
Follow
🌌🛸 hey hou,
just putting in all pics from begging till now, cos im really low with the time,.. behind this project is biggest story of my life, not only grow story, its much more behind.. i wish nobody to get such a grow in way as i do,. actually is nothing possitive there and this project i started, cos i lost everthing what in life importnt is. with this project, once, i wanted to give back just a litle bit of that what i got,.. and it still not eneough,. some things you cant buy, you cant pay,.. and you can get back... peace and stay hard, thing about what you decide, think about twice..


Processing
Likes
17
Share


@kcartel
Follow
Growing point: Indoor
Growing method: Substrate "Coco Coir Pith Brick" (PLANTIT) + peat 5l. Vermiculite clay / ordinary
Size of box: Ext. 47x50x59 ext. cream Polypropylene 390x190x182
Lighting: LED-HP-PRO 125W / 230V / E27 / 6500K / 5850lm
Channel fan: EK100 15W / 32db
Fertilizers: GHE/Flora (Gro/Micro/Bloom) General Hydroponics
Calcium Nitrate 0.5 Magnesium Sulphate 0.5
Seed Type: Ultra Haze Auto FEM (Euroseeds)
Likes
4
Share

@Meckyman
Follow
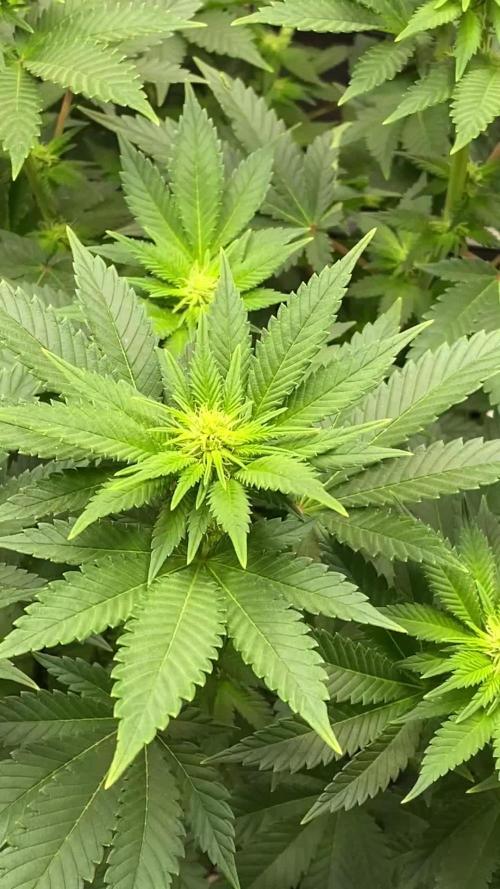
Hallo Gärtner 👩🌾 wieder eine Woche vorbei ist das gießen wird immer häufiger und mehr 😅 ich denke hab das Fehler gemacht das viel Blätter 🍂 weggenommen habe wie sieht ihr das so? Würde mich sehr interessieren. Ansonsten sie wirkt prall voll saftig. Was mir sehr überrascht ihr Geruch riecht nicht so stark. Aber es macht nix


Likes
18
Share


@Silverback_Guerilla
Follow
9/18:
New week...fed with Boomerang and Kangaroots
9/19:
Applied Axiom harpin proteins and boomboom spray
9/20:
Fed full strength TPS One...decent growth on both, but the small one seems more than just a couple of days behind.
9/21:
Tucked a few leaves and took some photos and a video.
Looking good. Just a couple more days of 24/0...
9/22:
Switched out the 560w of 5000k CCT lighting for 720w of 3000k CCT lighting and set the timer for 12/12.
Decided against 13/11 with emerson effect...trying to save a few bucks on electricity.
I'm keeping the lights at 30" from the tops for a day or two.
9/23:
The girls loved their first night of sleep...so perky!

Likes
10
Share


@JreyBudz
Follow
She is growing well I did some defoliation around the bottom of the plant this week. Did some rearranging of the bottom branches and stuck them through the middle for better lighting. She looks great!!!


Likes
36
Share


@OGTrauma
Follow
Im coming closer to the ✂️ time seriosly on this one homos and homies , now i tried some pics as close as my phone allows to show a more realistic approach of how plants are evolving besides al the self inflicted plagues by being a cheap bastard, slight light and nutrients burn , i can wait to the plants mature while im searching for the 🕵️♂️to check if thricome ratio should be mostly amber , so i tried some close ups to show you. The pics shows a bit of light bleach on the already damaged leaved yet the buds are full of hate and resin , that can be checked on previous week, the smell on santa bilbo evolved to sweet lemon juice, while g13 smells like earth , cream and synthetic berries ( like sour candy), Santa Bilbo is louder in terms of pressence and projection, while most g13 became purple bitches cosplays of purple bitch, my favorite russian cosplayer.🇷🇺😇💗
Im killing it with hesi boost, top candy and citric acid(ph regulation, clean roots ) as all they can be used on the final stage, and these lil potions don't damage their asses as they are basically different forms of sugars with a modest amount of pk , i think there is no more time for these hoes rather than this or maybe another week. They will be sacrificed in a global warming postpandemic chilean spring solstice.
What about the light's shit show , they show that a mainly 4000k & 6500k* spectrum mix (intentional as stated on the week i changed to 12/12 ) can give big fat stinky buds, so i expect that people that reach this journal and doesn't have the mediums or opportunity to proper growing supplies still can start with less and get some green , as weed is still controversial in a hell lot of countries, or places where high end technology is not on the local market yet.
* for further reference my dudes : https://www.migrolight.com/best-grow-light-spectrum/
BIG GAZ LEAKS MOTHERFUCKERS !!!! 🇨🇱

Likes
422
Share


@Crashoverite
Follow
Hi all 😁
Welcome to my 🍌💜👊 week update.
Hope everyone keeping well and having a great week.
Thank you so much for your all support on this bananas journey 💜💚💜💚
What a amazing week. Very little to work around those beauties. The smell is so delicious already. They smells like sweet berries. Buds are loaded with trichomes, very sticky and hard as rocks especially on Athena. Trichomes are mainly clear and some parts milky. Absolutely love power of LST and how it worked on this strain. If you won't look under net it's almost impossible to see which cola belongs to main stem.
Week 11
Dec 25 - Dec 31
Dec 25-26
Joyful observation
Dec 27
Selective defoliation and
First watering for this week. Nutes adjusted, almost 8ltr between both. Runoffs PH on both at 6.2. I am finding this PH level for this strain as perfect. Girls are looking super healthy and drinking they mixture like crazy.
Dec 28-30
All is going smoothly. I can see more and more weight each day.
Dec 31
Secomd watering foe this week. 8 ltr beetwen both.
It's the last day of this week and also end of 2023!!
See you in the new year 🍾🥂🍀
Peace and love brothers and sisters ✌️💚
Links
https://2fast4buds.com/seeds/banana-purple-punch-auto
https://plagron.com
https://www.biobizz.com/
https://fishheadfarms.com/

Likes
2
Share


@KeemBboomin
Follow
Once again these girls don’t really need much just watering when dry but other than that we are on cruise mode. I have been checking trichomes for about a week now and man is she almost there I should be giving them lights out with in another week or two can’t wait
Likes
Comments
Share


@GrowDiaries
Follow
Best Cannabis Nutrients Brand 2025
Shoutout to Plagron, crowned Best Cannabis Nutrients Brand 2025 by our GrowDiaries.com growers! Huge thanks to our community for voting! #GrowDiaries
@plagron_official
Likes
8
Share

@The_Doctor_Green
Follow
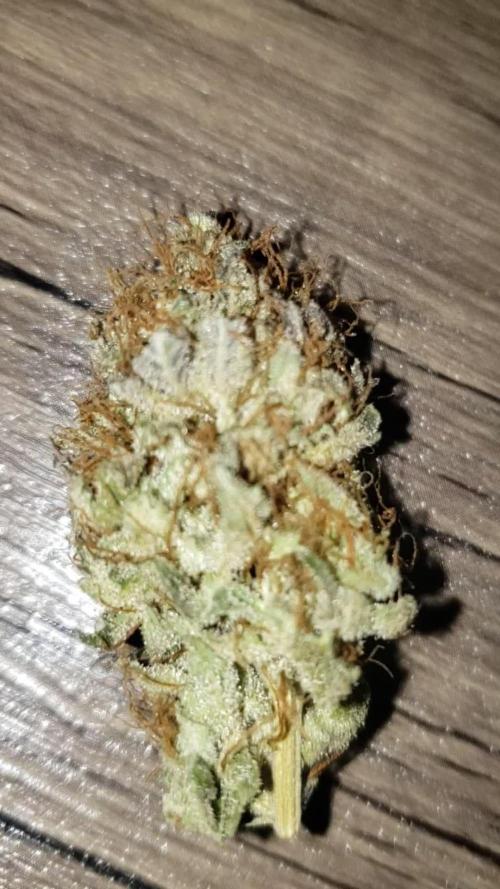
He dejado secar 2 semanas y enfrasque tan solo 20 gramos de flores secas, no se cual es el peso húmedo, creo que esa es la pregunta que se podría modificar😅.
En cuanto al cultivo de esta genetica , puedo decir que es una cepa que no genera problemas, en el cuarto ya en floracion avanzada tomo un color violeta, en cuanto al aroma, aun no se como describirlo😅.

Likes
1
Share


@VirginiaGrownExotics
Follow
She’s packing on weight starting to get bigger frosty nugs and she smells absolutely amazing
Likes
12
Share


@Greccobudz
Follow
Day 57 and that's a 33.8oz spring water bottle for size reference. Video's are day 58. I'm going to ice water her tonight and then keep her in straight darkness for 72hrs and then harvest. She's a beast for sure. You can definitely see an increase in trichromes in the 4 days of total darkness started with it's 1st and final ice water flush abd no more water for 3 days or untill I harvest.
Likes
77
Share


@KingSalomonsWeed
Follow
22.12.Day 85 Blüte 44 von 63-70.
Hallo Leute.
🤗 Eine bisher sehr zufriedenstellende Sorte .
Resistent, sieht gut aus, Duftet so süß! Aber nicht nur . Wie im Bonbonladen.
Viele Nuancen drin. Auch natürlich dieser Weed Geruch, den wir alle mögen.
Definitiv hat sie ein paar burn Zeichen. Leicht, aber fast überall. Dafür sind die Knospen ziemlich hart, kleben und werden dicker. PLAGRON hat hier ein Wort mitzureden.
Ich könnte ja weniger geben, aber nö.
Power Buds Contest heißt es. Nicht grüne Blätter Contest. ( Aber Mal ehrlich, Herbstfarben sind schon schön )
Noch mindestens 19 days in denen die Candy Rain Knospen mästen können.
Danke Leute fürs Lesen, liken Kommentieren.
25.12. 9 Tage Dünger, dann 7 Tage Wasser, und schon ist Ernte.
26.12. oh Mann , wenn nicht 63 -70 Tage dranständ, dann würde heute ein Teil gehen....
Aber, der Züchter weiß es am besten.
Vertraut denen ruhig. Die kennen sich bestens aus.
Tja die Knospen:
Reich bedeckt mit Trichomen
Kaum, bis keine Viecher.
Fest wie ein Tennisball,die oberen + canope. Die unteren mangels Licht natürlich nicht.
Das gibt eine Stufen Ernte.
Meine Nase wird vom Geruch reich beschenkt. Olala ( ⬅️ Ein Ausruf der Begeisterung )
👍
Later
Oh, die Knospen werden so schwer, das einige untere Arme umkippen.
Muhaha geil...
28.12. Blüte day 50. Es gibt nochmal Dünger. Sie wird dann Blüte day 67 geerntet. Der Größte Teil wenigstens.
Noch ist sie durstig.