


Likes
Comments
Share


@Rinna
Follow
Did a strip/defoliation on all of them. She's catching up with the rest nicely and looking great. Will be feeding them all Terra Bloom from now on, still no mildew or bugs thanks to spraying cannacure weekly. Also, the subtle colors I spotted (hard to get a clear pic) are developing nicely, but some leaves are turning, twisting and curling, my first guess is that I've overwatered her, she's quite a bit smaller (more 'skinny', and flowering slower) but I've been watering here the same as the other two, might need to let her dry up a bit longer than the others.

Processing
Likes
11
Share


@ganjaman24
Follow
Sorry guys been lagging on posting because got a lot other stuff going on n I figured this plant would’ve been chopped by now but I must say she’s been filling out quite nicely..I lowered the light hours to try n see if thatll he’ll ripen her a bit faster as I’m looking to replace her with another plant

Likes
Comments
Share

@Chucky324
Follow
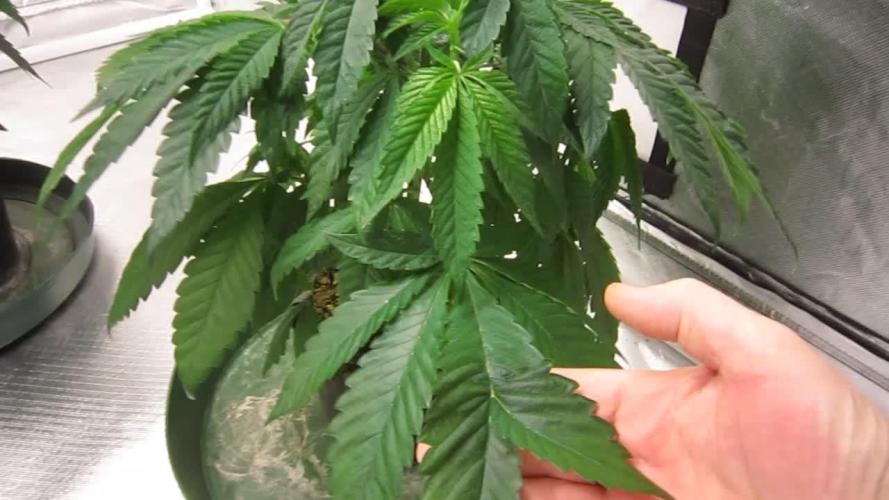
Hello. This is the end of week 5 and the beginning of week 6 of veg.
This girl got topped last week, getting ready for training.
I hope to repot this plant this week and it will get a tomato cage too.
I can spread out the branches and tie the branches with the big buds to it.
OK. Be Great.
Chuck.

Likes
59
Share


@Mastr
Follow
Bud fatten up and smell and look so nice
😍
So happy to grow such beautiful plant she is mazing with lots off branches but bit short only 60cm
Every day going she get darker purple
Because she so bushy some bud won't get air and light so every time I feed her I have to remove some top leaves or middle leave s to get ligh and airflow I hate popcorn nugs and she seems have alot popcorn nug but bud still growing and fatten up I won't rush to harvest her I let her grow atleast 3 or 4 weeks more

Likes
14
Share


@Farmerted
Follow
So far she is staying small as I wished. Will start raising nutes little by little this week as more leaves come. At the third set of descent true leaves formed I plan to move her to the flower tent at 12/12 with more red spectrum. Attempting a candelabra trained tiny grow with one top and two side trained colas. I have to say this is the first time I ever strived for small. Usually I am trying to fill the tent.
Likes
12
Share


@la_piper
Follow
22.04 1day 12/12
ола начало 5го дня 12/12.
вижу дефициты - меняю бак.
на 40л свежей воды из под крана в 200ppm по 100мл А/Б+30мл силиконики+20мл ph[-] итого:
ppm 940
ph 5.6
ола
7дней 12/12
долил свежего 18градусного компота 40л прям перед поливом) и того в баке около 70л.
на улице душанбе , в боксе тож жарковато, ну чую руками , что прибор подпёздывает и к тому же он под лампами, хоть и на уровне растих, пластик всё равно нагревается, поэтому там меньше 30 явно.
так же для личного удобства сделал перестановку и чуть подзагнул всё таки хейзы, куча побегов открылось под свет.
пол ещё не показали. мутант продолжает болеть, он сам выбрал свой путь, ещё шепнули что с виду оч сативный фенотип попался, и поэтому ебёт голову, мол сатива иначе кушает

Likes
5
Share


@Dabking
Follow
Chopped on day 77; and dried for 7 days.
Plant 1: 34.8 grams dry
Plant 2: 40.8 grams dry
Total dry weight: 75.6 grams (2.70 Ounces)
The plant is super frosty and smells very sweet. It's now in a grove bag and curing. Can't wait to do a smoke report in about a month.
Hope you enjoy two song variations I made with a slideshow of the grow

Likes
1
Share

@Jungle_James_Grows
Follow
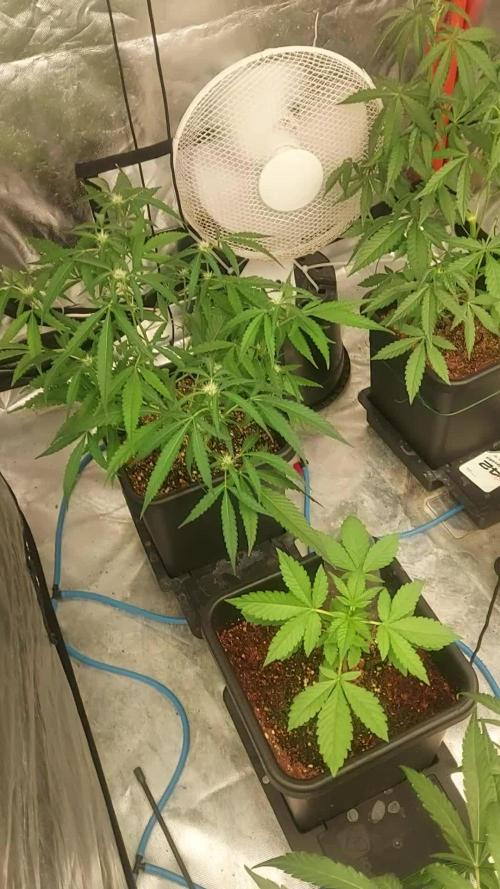
They've bounced right back, I need to get in there again and do a bit more training.
Likes
57
Share


@Roberts
Follow
Pablo Escobar has been doing good. She was neem oil treated about 4 days ago. Then I treated her again today. Making sure I have eliminated the ghost pest I have not seem to found yet. I have seen it white sacs on the leaves. So something is about. So hopefully it is now exterminated. She was trained a little today and is ready for another week. Thank you Divine Seeds, and Spider Farmer. 🤜🏻🤛🏻🌱🌱🌱
Thank you grow diaries community for the 👇likes👇, follows, comments, and subscriptions on my YouTube channel👇.
❄️🌱🍻 Happy Growing 🌱🌱🌱
https://youtube.com/channel/UCAhN7yRzWLpcaRHhMIQ7X4g


Likes
6
Share

@Brujha77
Follow
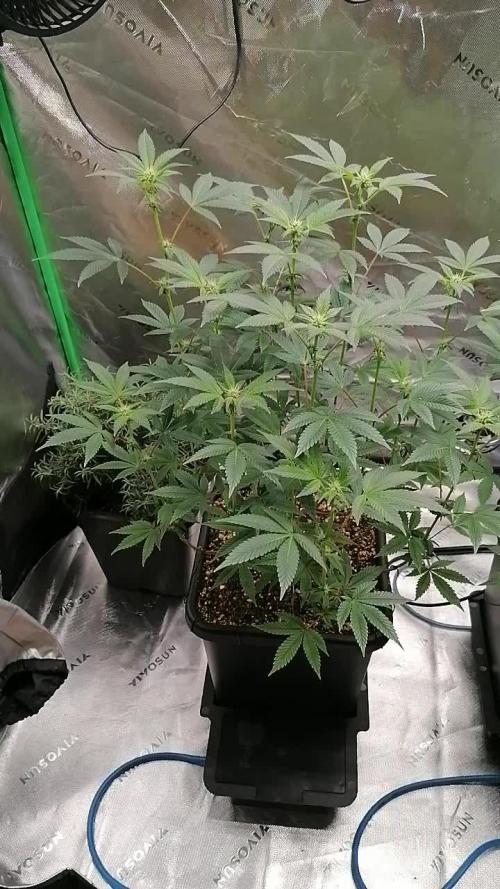
Start Woche 3 Blüte
Langsam sieht es besser aus, das Spülen hatt wohl geholfen.
Keine Ahnung....
#1 bekam die letzten 3 Tage nach dem Spülen noch CalMag dazu (3ml/l)
Tsg74
Es wurde unten herum mal etwas entlaubt.

Likes
12
Share


@2SeedsToParadise
Follow
Sometimes this happens.. We've all been there... Missed a watering, but all good its weezy. 2nd week of flowering and the blackberry is popping thru Lfg..
Letzgetit
Likes
3
Share


@Kronen
Follow
Montebello Mind Bombx2 (MMB): by Doc Wylder Genetics. 3rd week from seed and MMB #1 is taking off. Very good growth this week. Transplanted to 1 Gal pot for additional nutrients in soil. Also, a stronger soil Sohum Living soil with Wollastonite & Mycorrhizae additive. MMB#2 however is still struggling to grow. Not sure what's going on with it. Gave it a bit of TEA Compost for a kick of nutrients yesterday and Bumped Lighting to 750ppfd, to spur some growth. Could be shocked still from 12/12 lighting a week ago. Roots have yet to make it to bottom of the Cup. Environment: 78-85F, 50-55% RH, 600-650ppm CO2, 750-850ppfd, and watered from bottom 6.0ph Mineral Water along with a Spritzx2 each day. Use Cup weight and reactions of the plant to determine watering and allow for dry period once a week. 👌
Likes
Comments
Share

@pHilosophy420
Follow
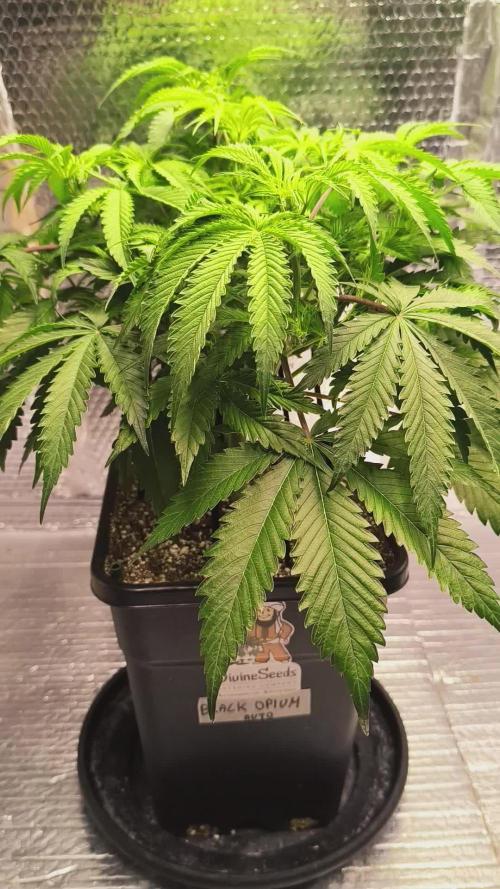
Day 42 - The plant is spread nicely and no more LST so the plant can start stretch phase. So far all looking very promising
Processing
Likes
34
Share


@DudeGrowsWeed
Follow
Sour Diesel haze is packing on some weight. Bud development is looking very nice! She still has a way to go (3-4 weeks I assume). I backed down a little on the Recharge this week, but still giving twice the suggested amount. Also still giving her Mammoth P. Will start with MegaCrop (Greenleaf) nutrients later this week. 👍

Likes
15
Share


@WILLIAMSII_Fr_Farm
Follow
productive week, always no excess or deficiencies, everything is fine.
I continue my small but regular defoliation and I hope to be able to switch to PK booster in a short time.✌️👍


Likes
14
Share


@Lykantar
Follow
Baby Don't worry cause everything gonna be alright!
nothing to say more, the roots are strong I can see them through the pot
I just cut the top
This is regular seeds so some of them will be killed

Likes
36
Share


@Salokin
Follow
Hi Everybody,
the plant is developing super nice and is getting really thirsty. My tank has 50 litres and after 6 days I had to change the solution as only 10l were left and I started to see tiny sings of tip burn. Meaning she is consuming somewhere around 6.6l a day minus evaporation. The lower canopy was cleared out quite a bit and then a second S.C.R.O.G. net was installed to spread the canopy a little further. She stretched quite a bit since I flipped her withe main colas starting to tower on the sides.

Likes
16
Share


@Cannabis_carlitos
Follow
On cruise control, just giving 2gallons of ph balanced water every 2-3 days.
For the first time I am experiencing white mold/powder. Also first time using scrog and filling out the tent like this. To battle - put an additional fan on the top of the canopy and increased carbon filter to 100% vs 60%.
During day leaving bottom flap open for good air exchange - close it when lights are going off.
Plants are starting to produce lots of trichomes, I am happy usually I see trichome development a little later.
Girls are still stretching - I am noticing the buds are starting to fatten up as well.
The smell is amazing , super strong hints of citrus. As I am addicted to Oranges and obsessed with pine sol, this is ok with me :). I love the citrus smells- it is one of the main reasons I got these seeds.
I am really noticing a difference in the quality of plant I am getting when growing good seeds vs random clones or seeds. Very resilient and able to recover from anything I've done to her.
Wednesday - nutrients - water to run off
Saturday - ph balanced water to run off
Monday - ph balanced water to run off
Wednesday - nutrients

Likes
16
Share


@osmrducks
Follow
Day 29: The girls are looking great. I upped the nutes yesterday, as I have been giving them barely any at all. Will up them once again on next feeding. Looking like tomorrow. The main branch that I snapped off did not make it. Lesson learned on that one.
Day 30: Removed all other lights and added the HLG 550 V2 RSpec. Did some defoliation on the girls along with another feeding. Will do straight PH'd water next go. The girls are looking strong and healthy. 💪 Just on the small side. Still having to leave the tent wide open to subside temps and humidity.
Day 31: Nothing new to report. Looking very short and stubby and healthy!!
Day 32: Looking like they had some good stretching going on over the 3-day weekend. Will be needing fed tomorrow after work. May water a little less this time, as it is taking 2-3 days for them to dry out.
Day 33: Great stretch and bloom on the girls today! They are looking super healthy and strong! 💪 No smell yet.
Day 34: Girls are looking decent. Noticed some rusty looking splotches on the leaves. I'm thinking possibly Cal-Mag deficiency? Not sure.
Day 35: Not looking too happy today. I let them dry completely and watered with only Cal-Mag. Hoping the patchiness clears up for them!